


In this article I’ll show you how to assemble the RSX fan shroud and fan along with the tips and tricks I’ve learned installing this esc in various cars. You can also click on each picture for a full size version for easier viewing. So let’s check it out!
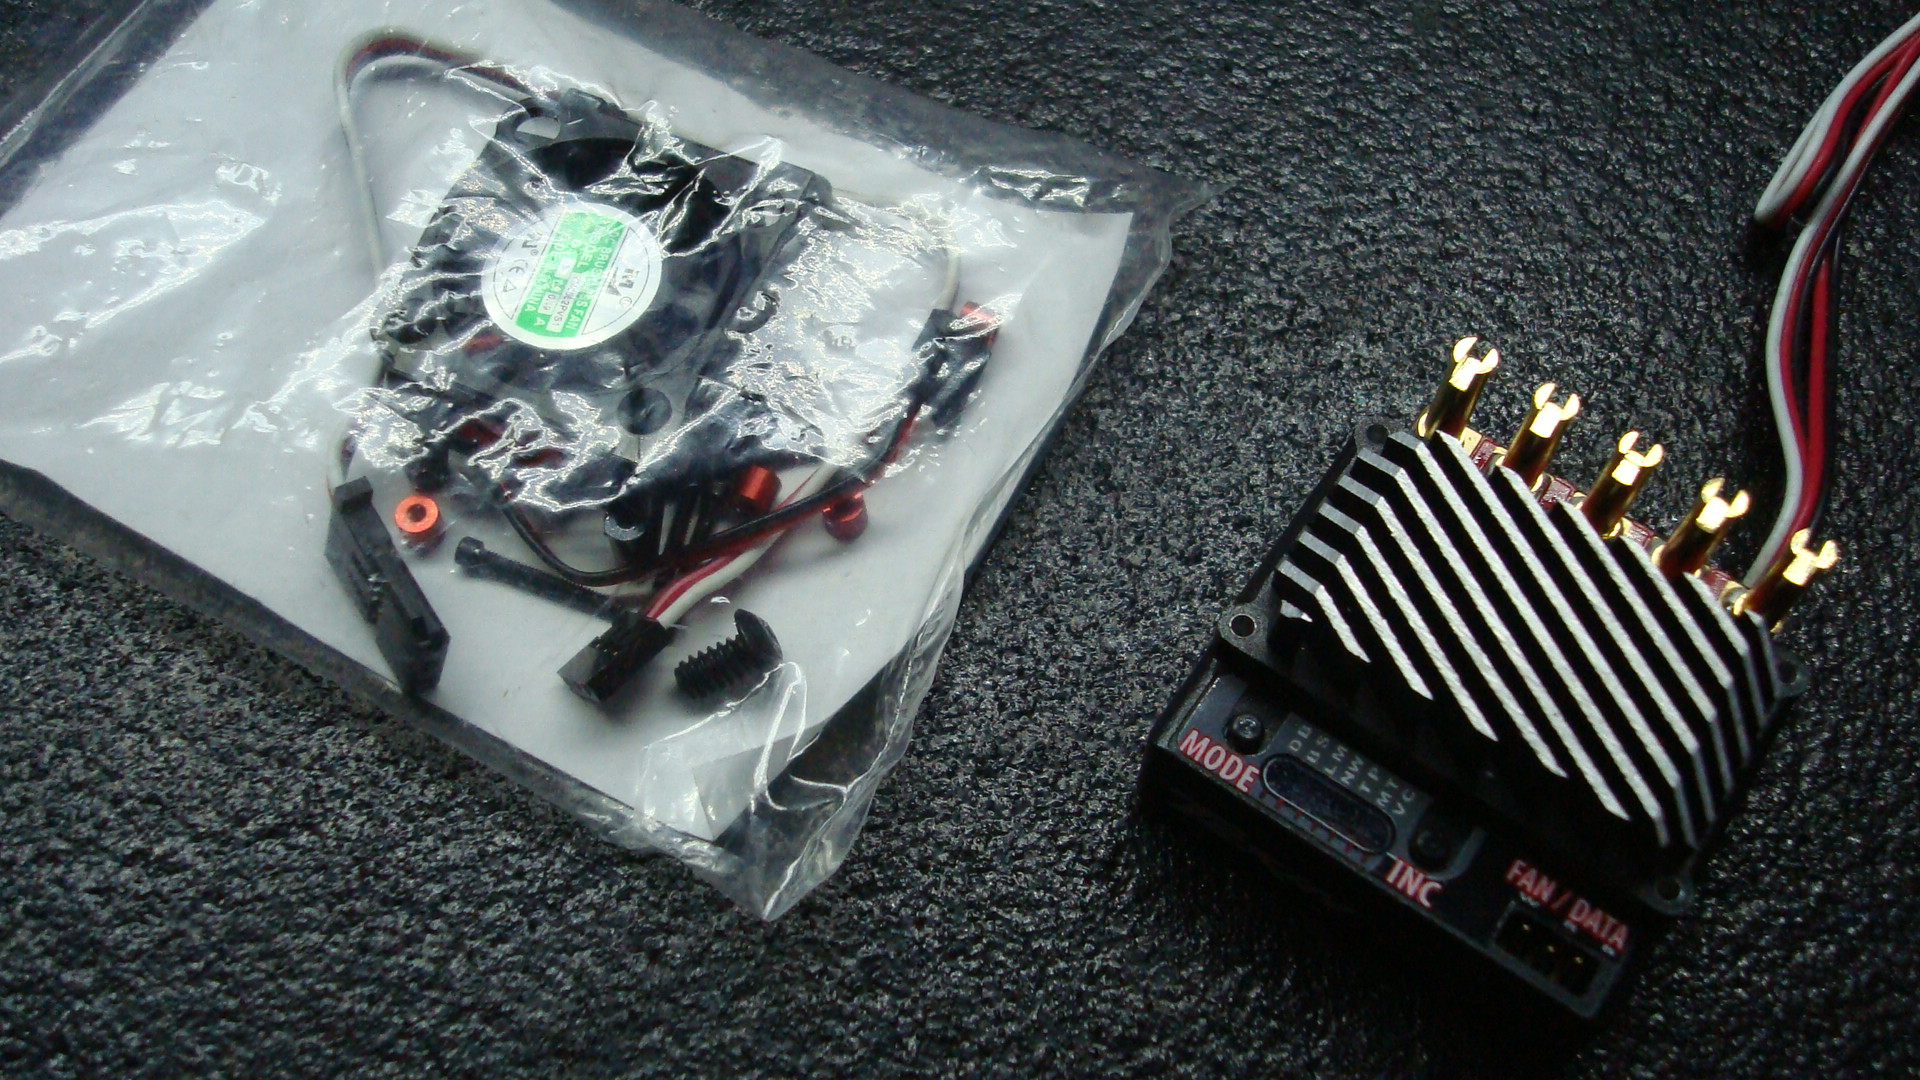
RSX with included accessory bag.
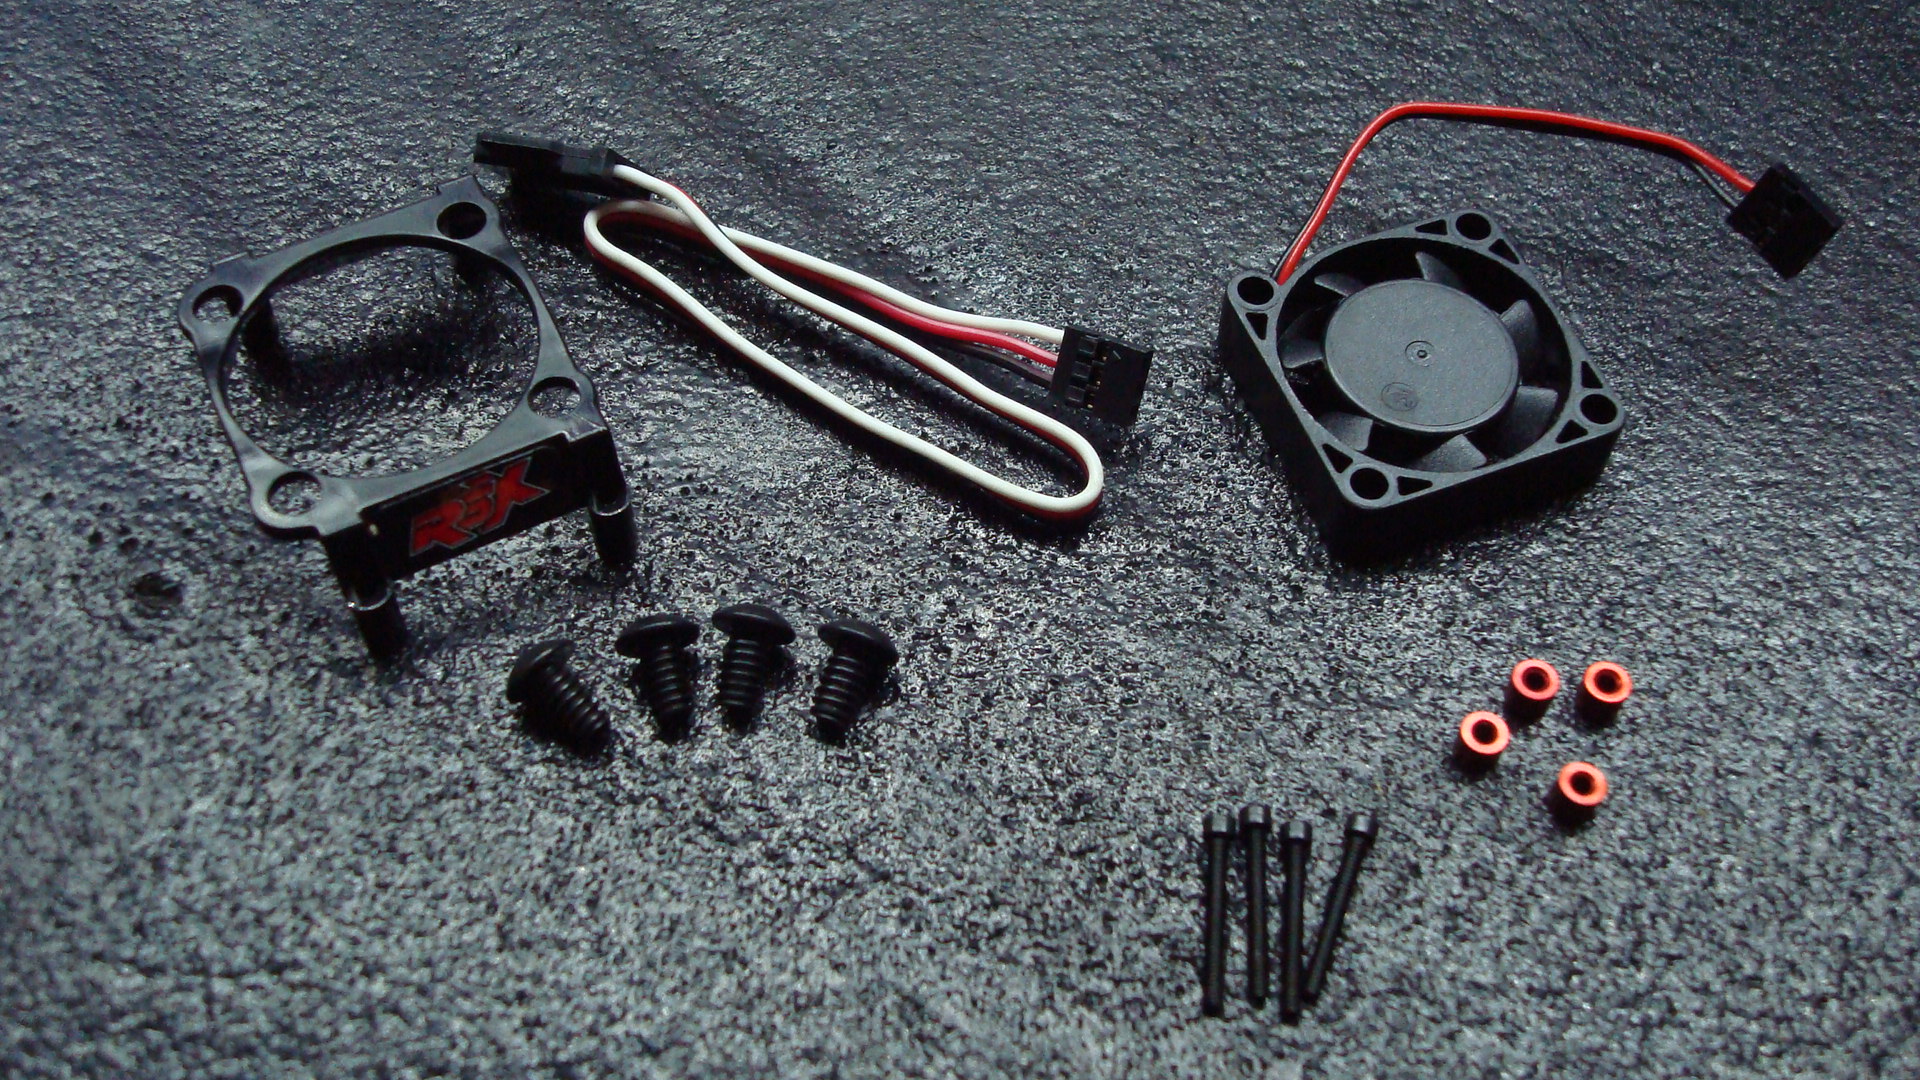
Accessory bag includes fan screws, shroud screws and spacers, fan X brace, and Hotwire adapter.
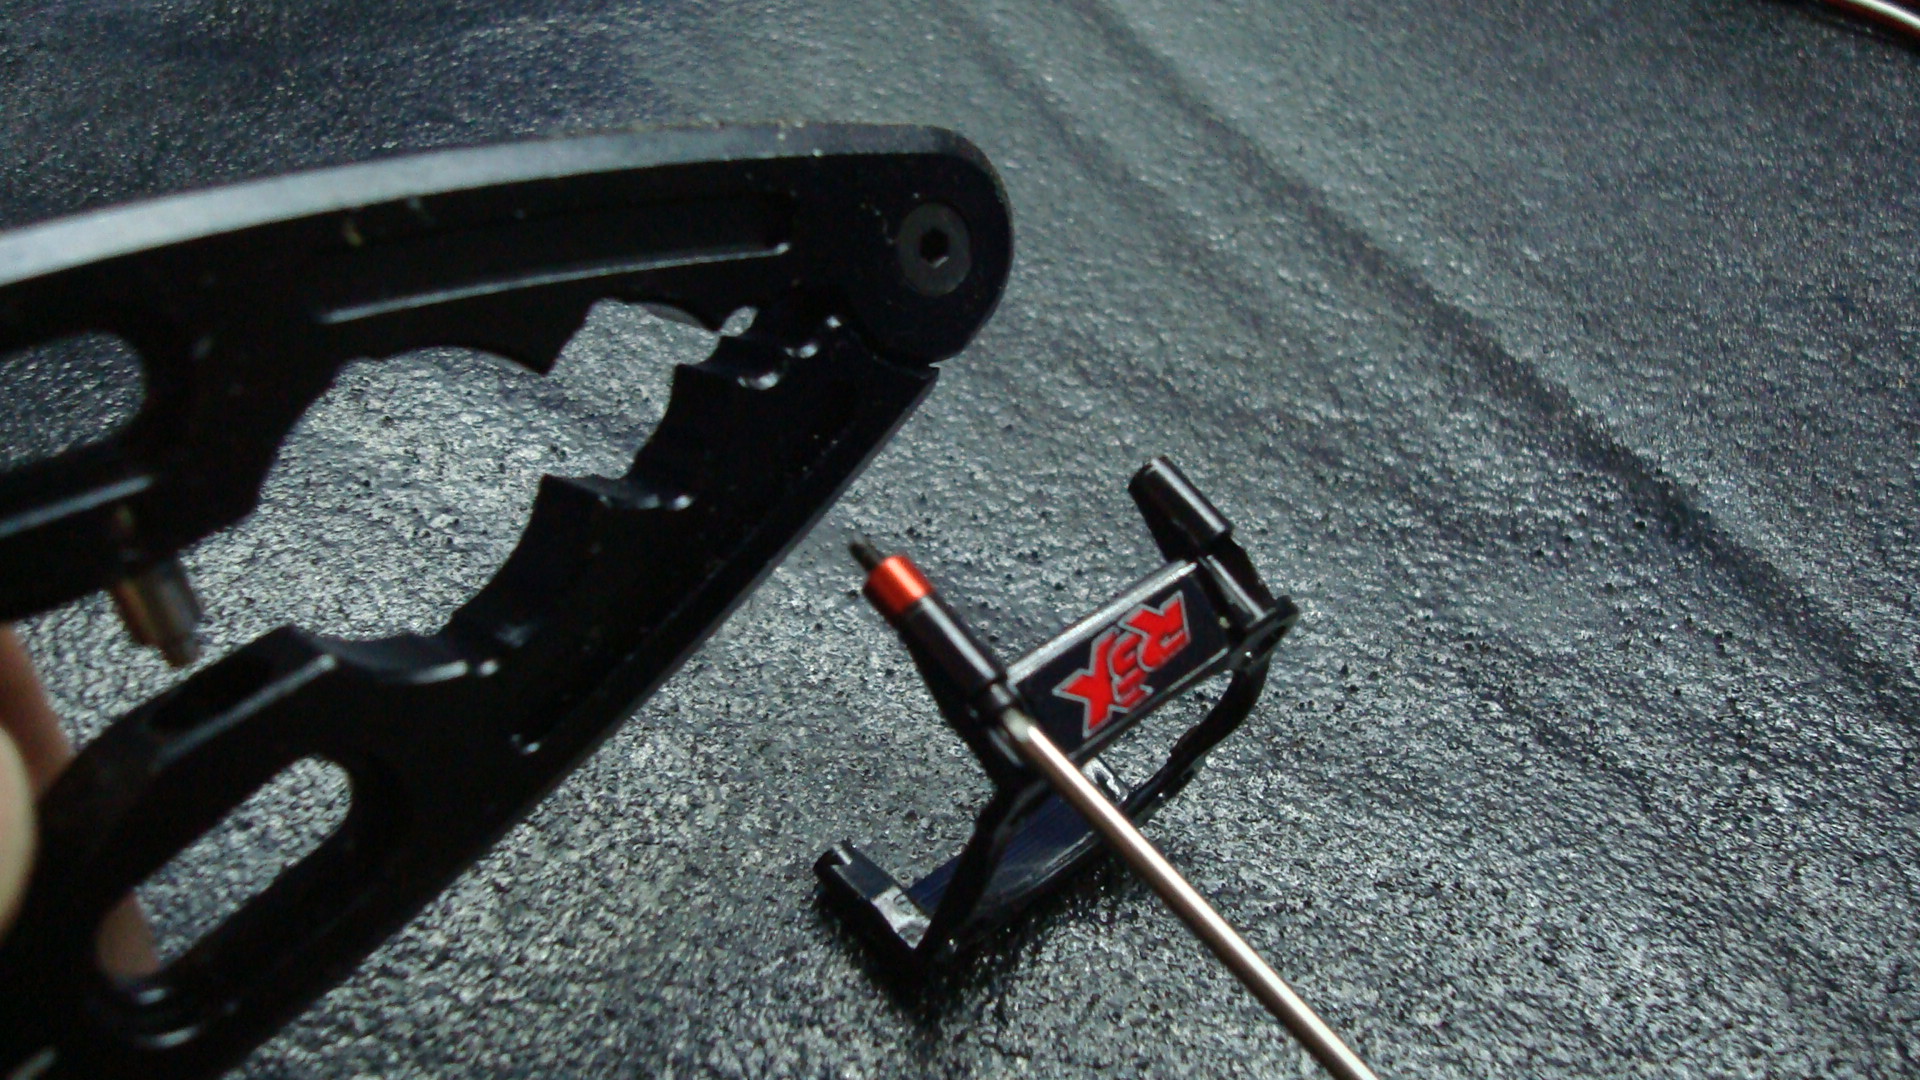
So first “trick” I picked up was installing these small red spacers for the fan shroud. Take the spacer and slid it over the screw while holding the screw with the driver. Using a shock shaft plier tool lightly “crimp” the spacer on the screw. This will “capture” the spacers allowing you to keep it in place while installing/removing the shroud!

Hold screw,shroud, and spacer….
Protek shock shaft pliers to crimp spacer.
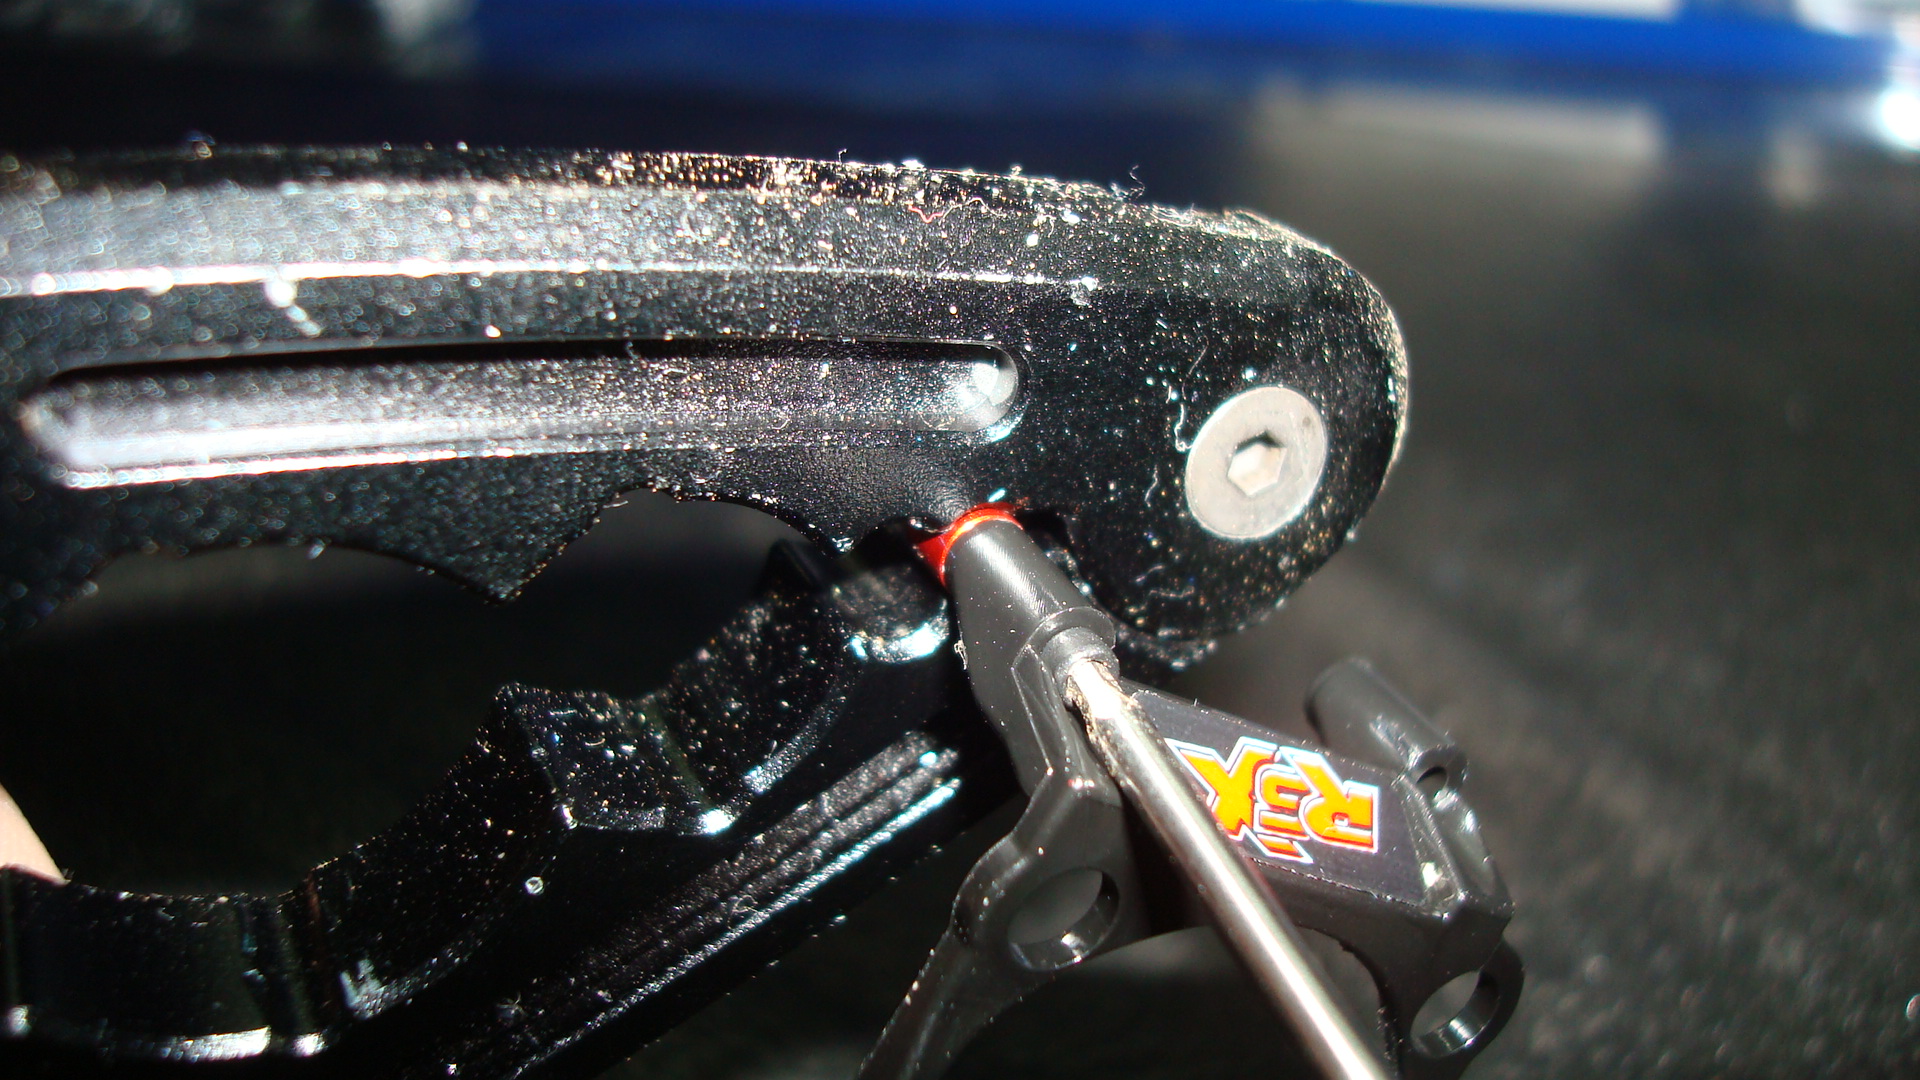
Just a little “squeeze” ! Not too much…
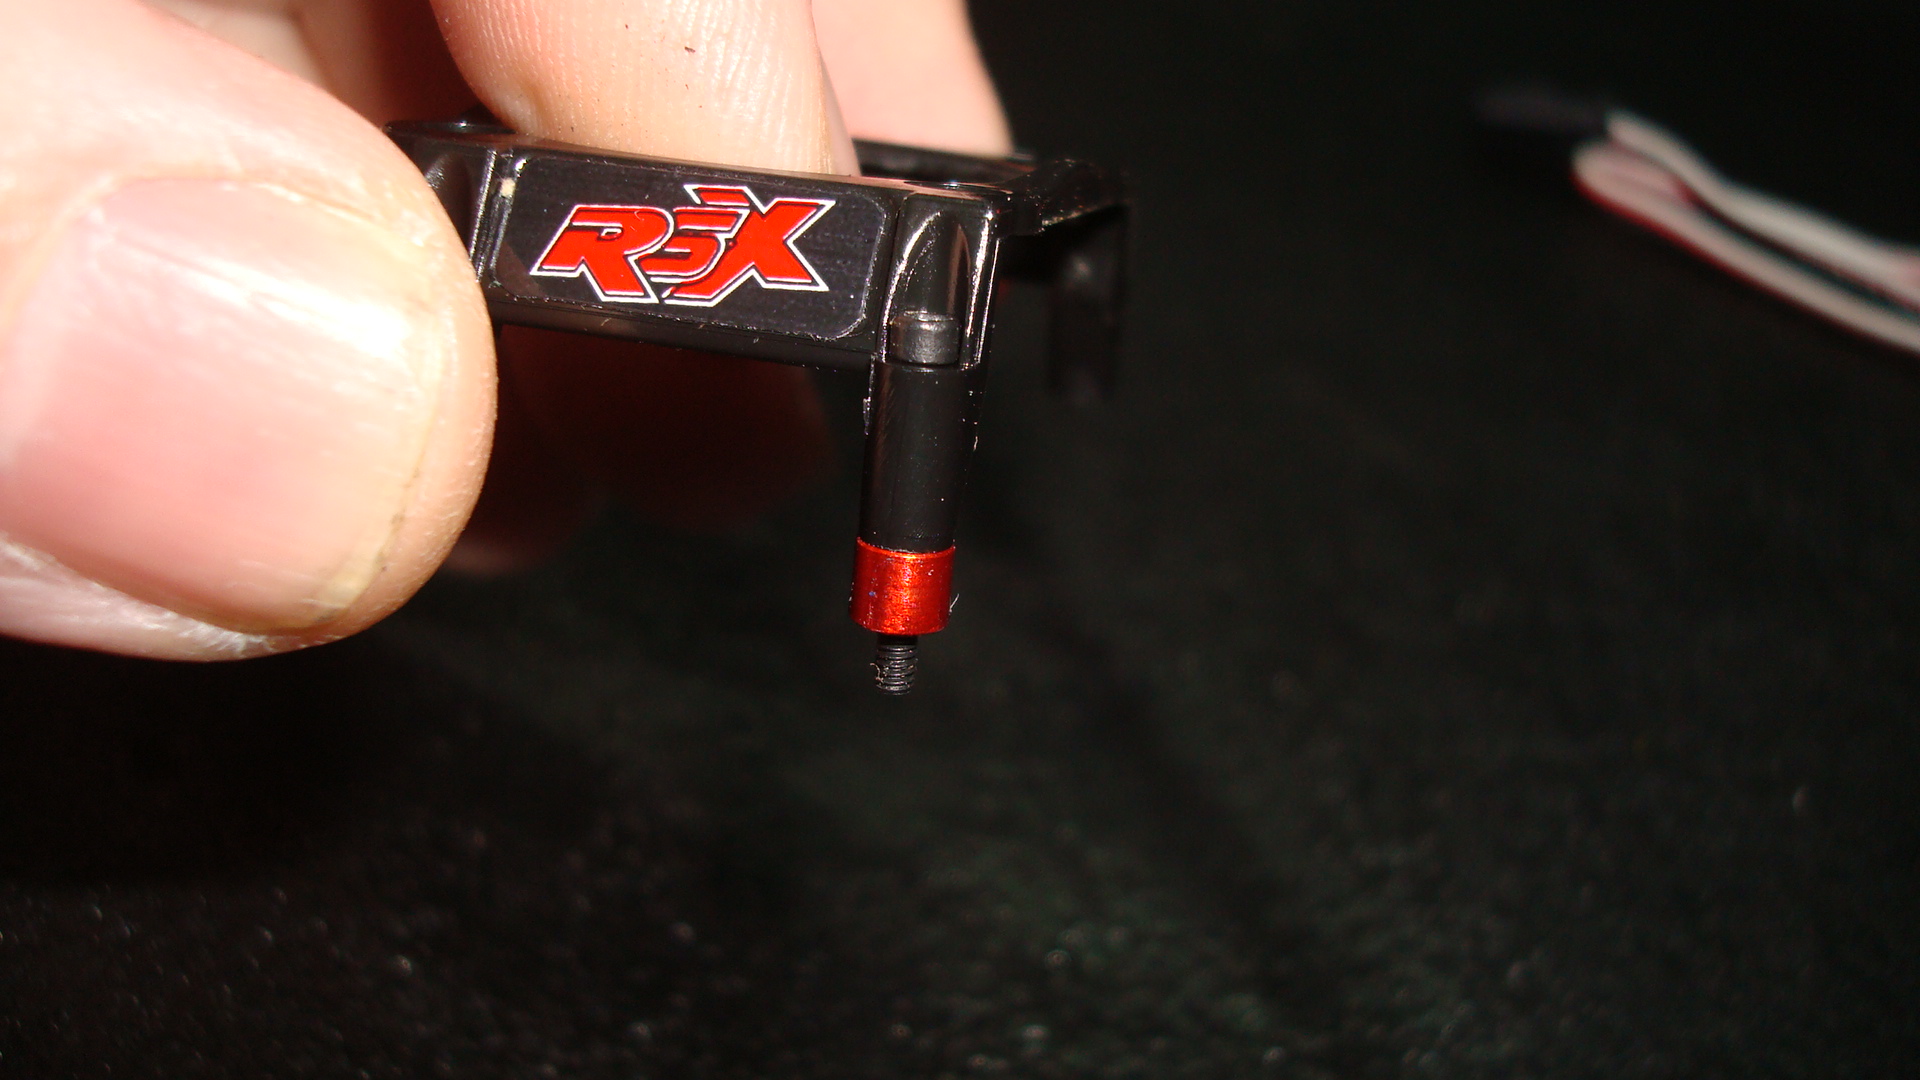
Bam! Spacer can now defy gravity!

All 4 spacers installed!
Another thing I see from time to time is the shroud is positioned wrong. The shroud should over hang the button area, not the solder posts.
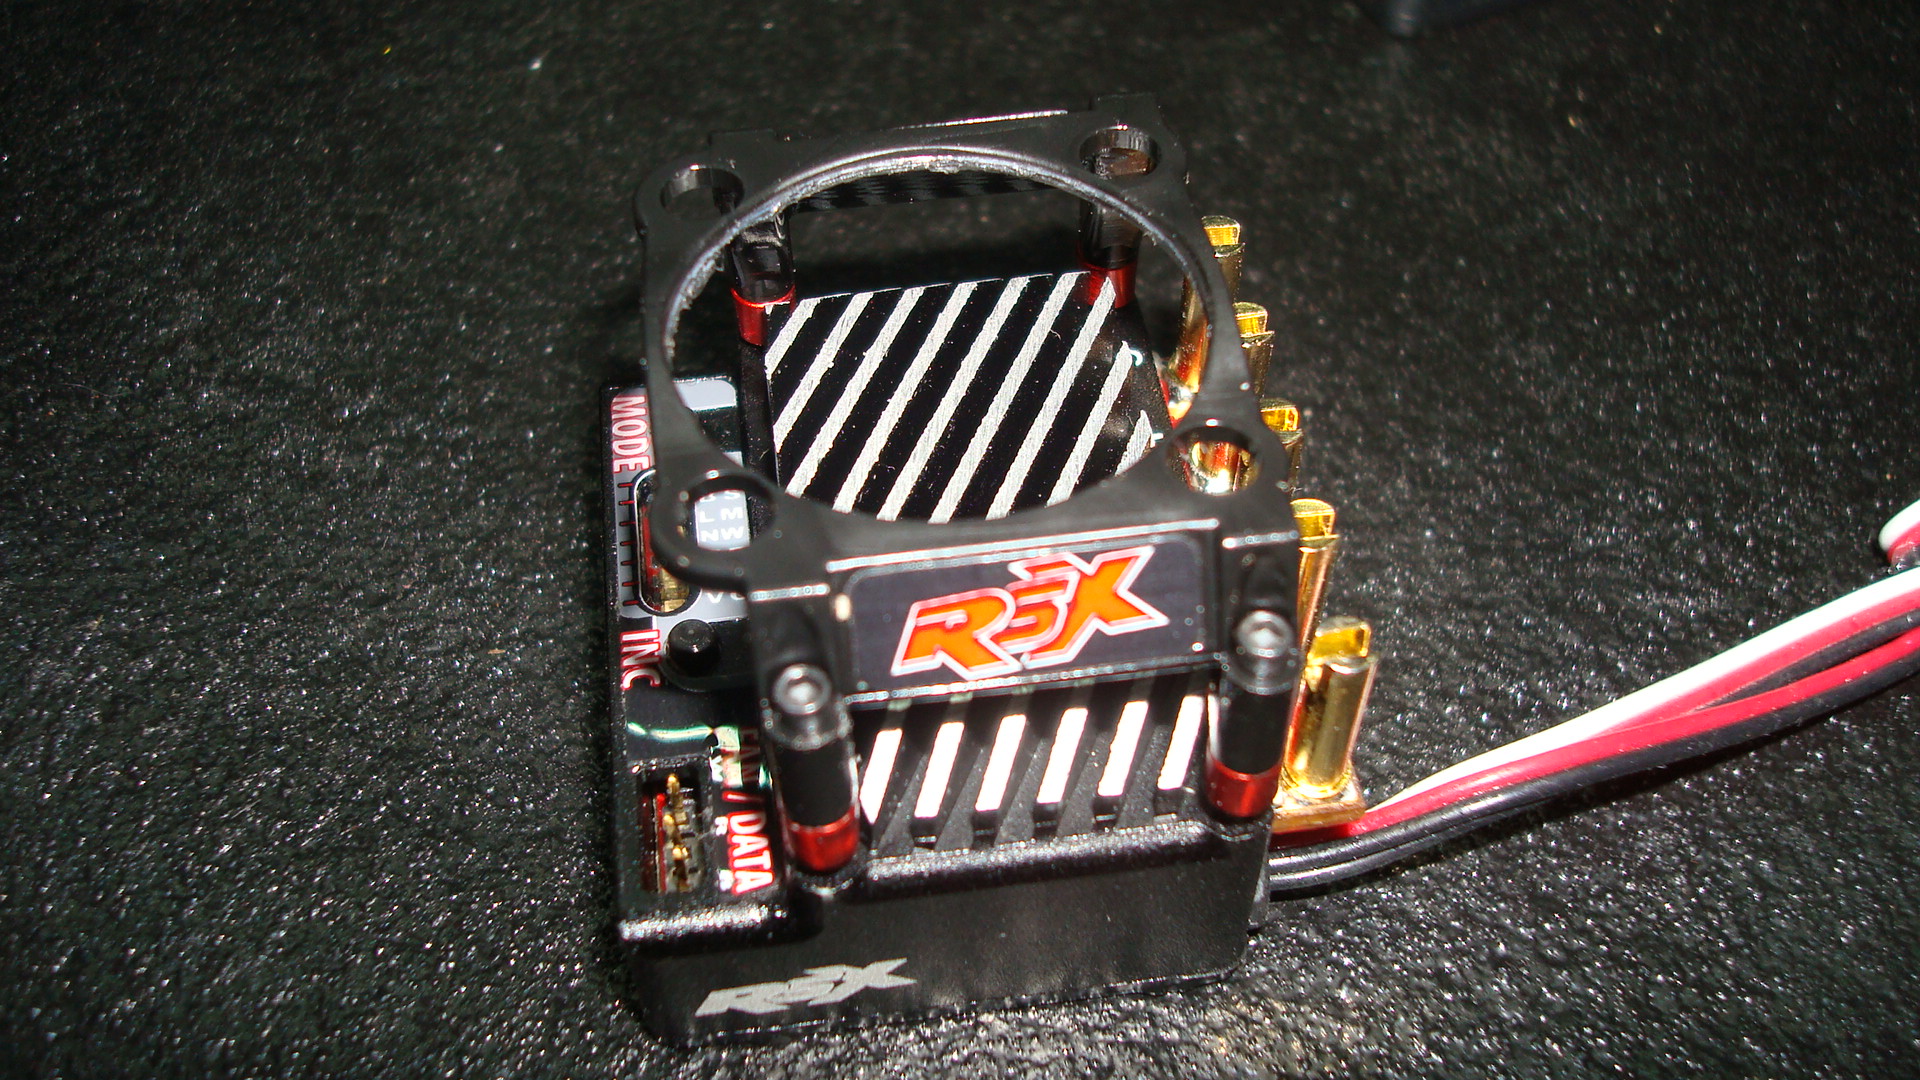
Note: Fan shroud should hang over button face, not solder posts.
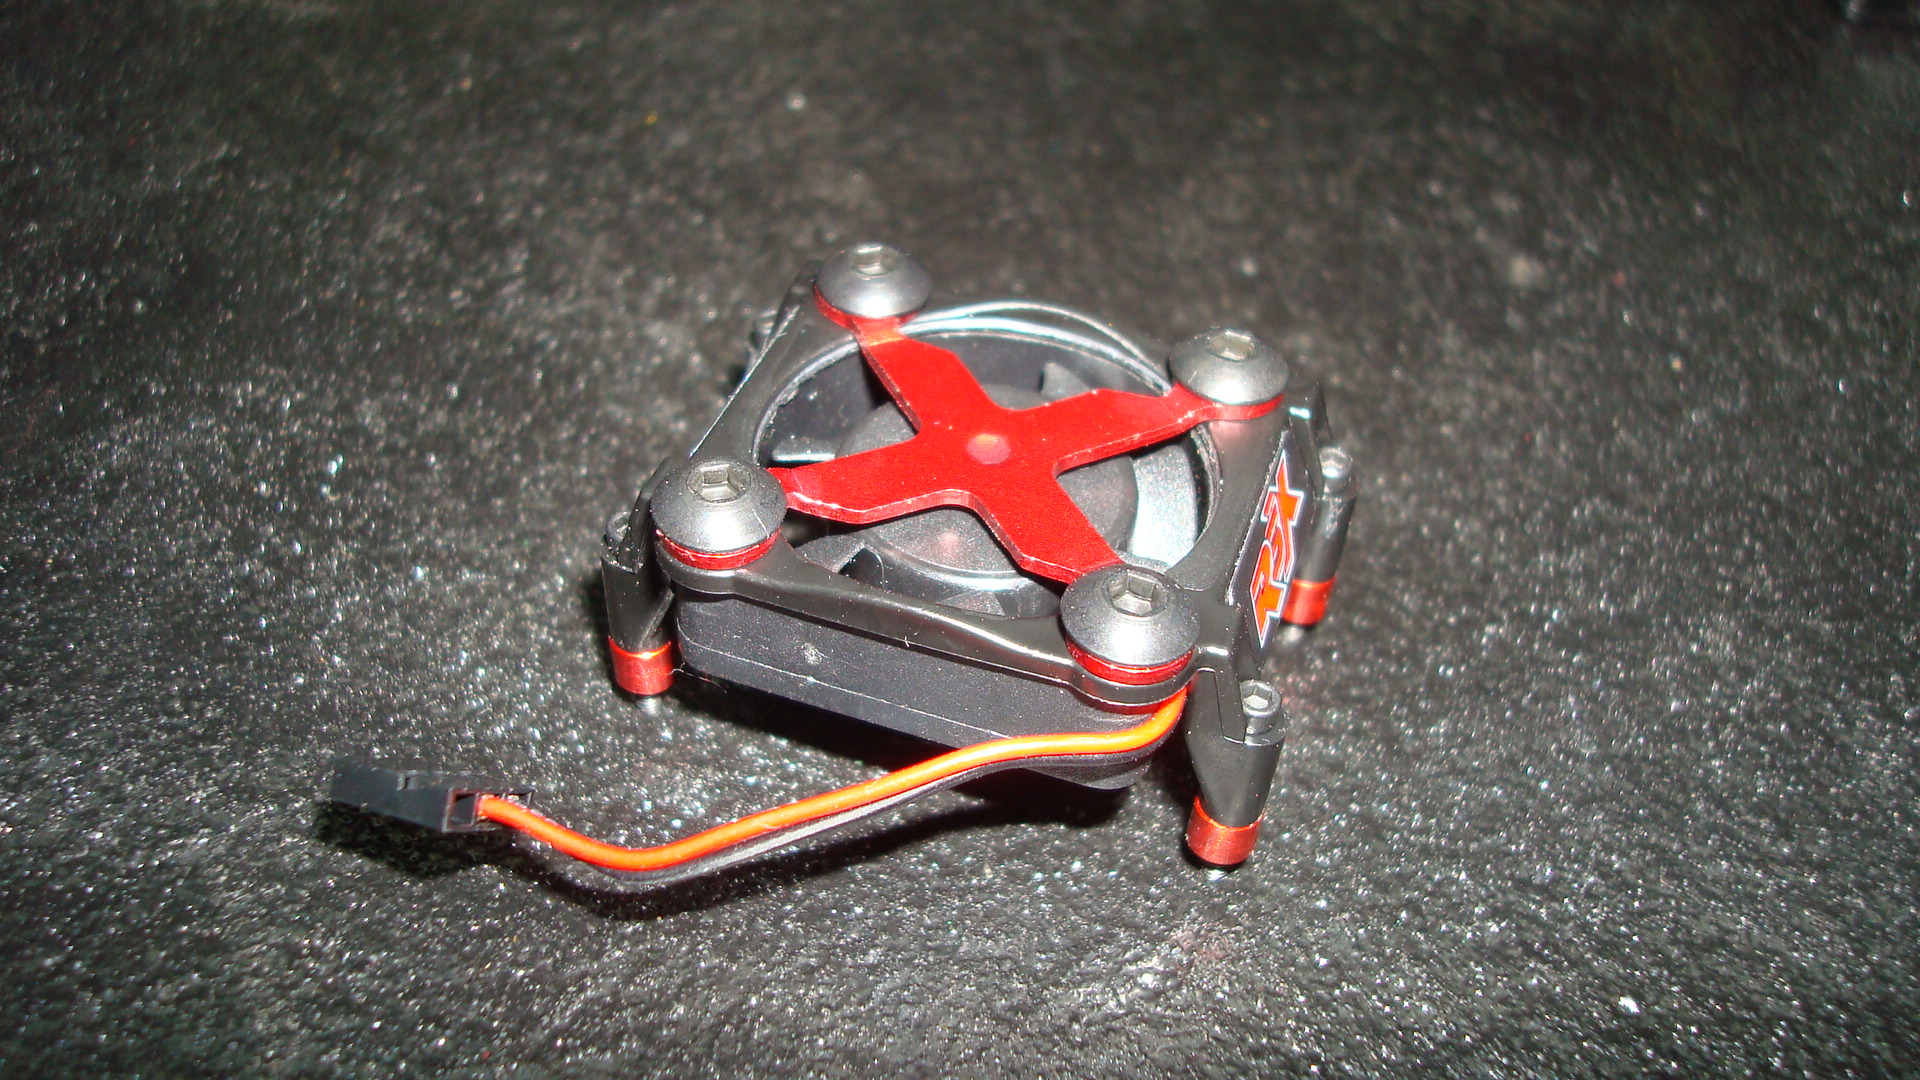
Also included is the “optional” but recommended fan “X” brace. Note that there’s a dimple in the center that should face “down” towards the fan.
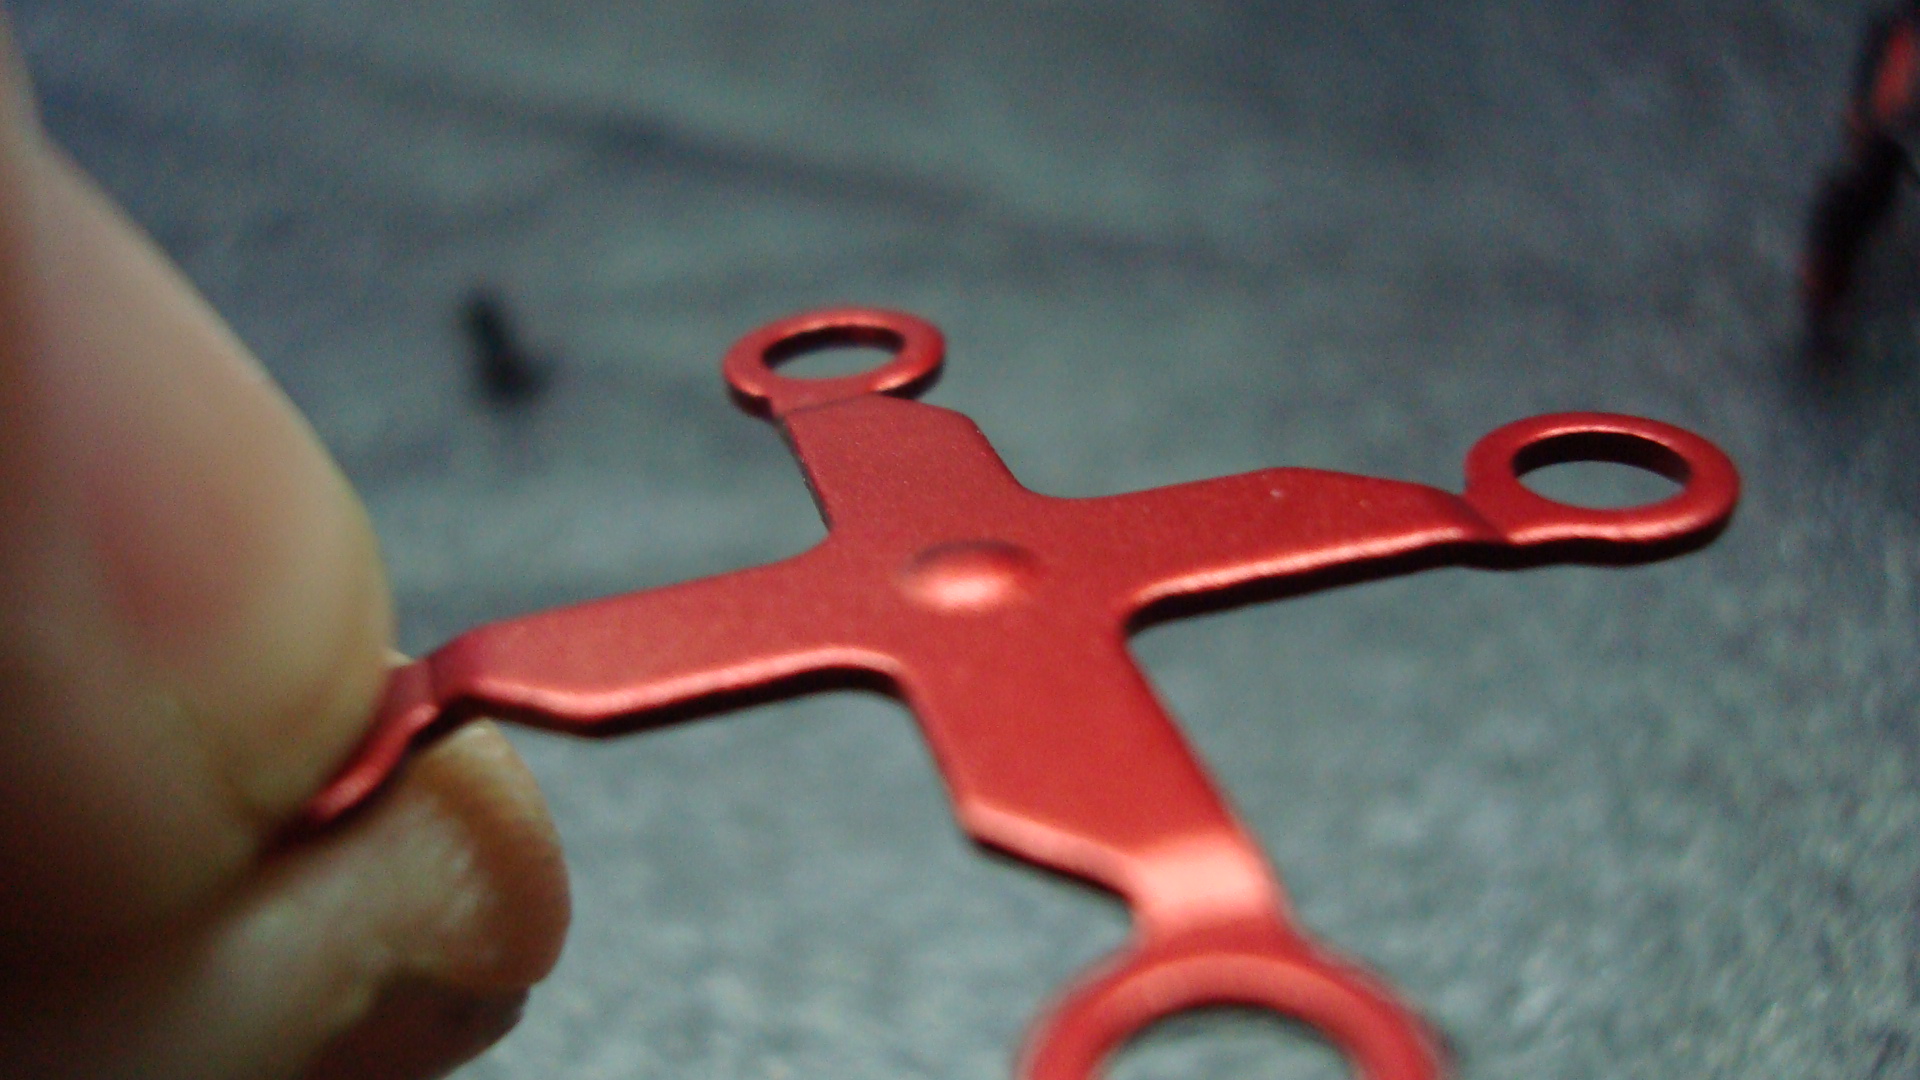
Dimple is “up” in this pic.

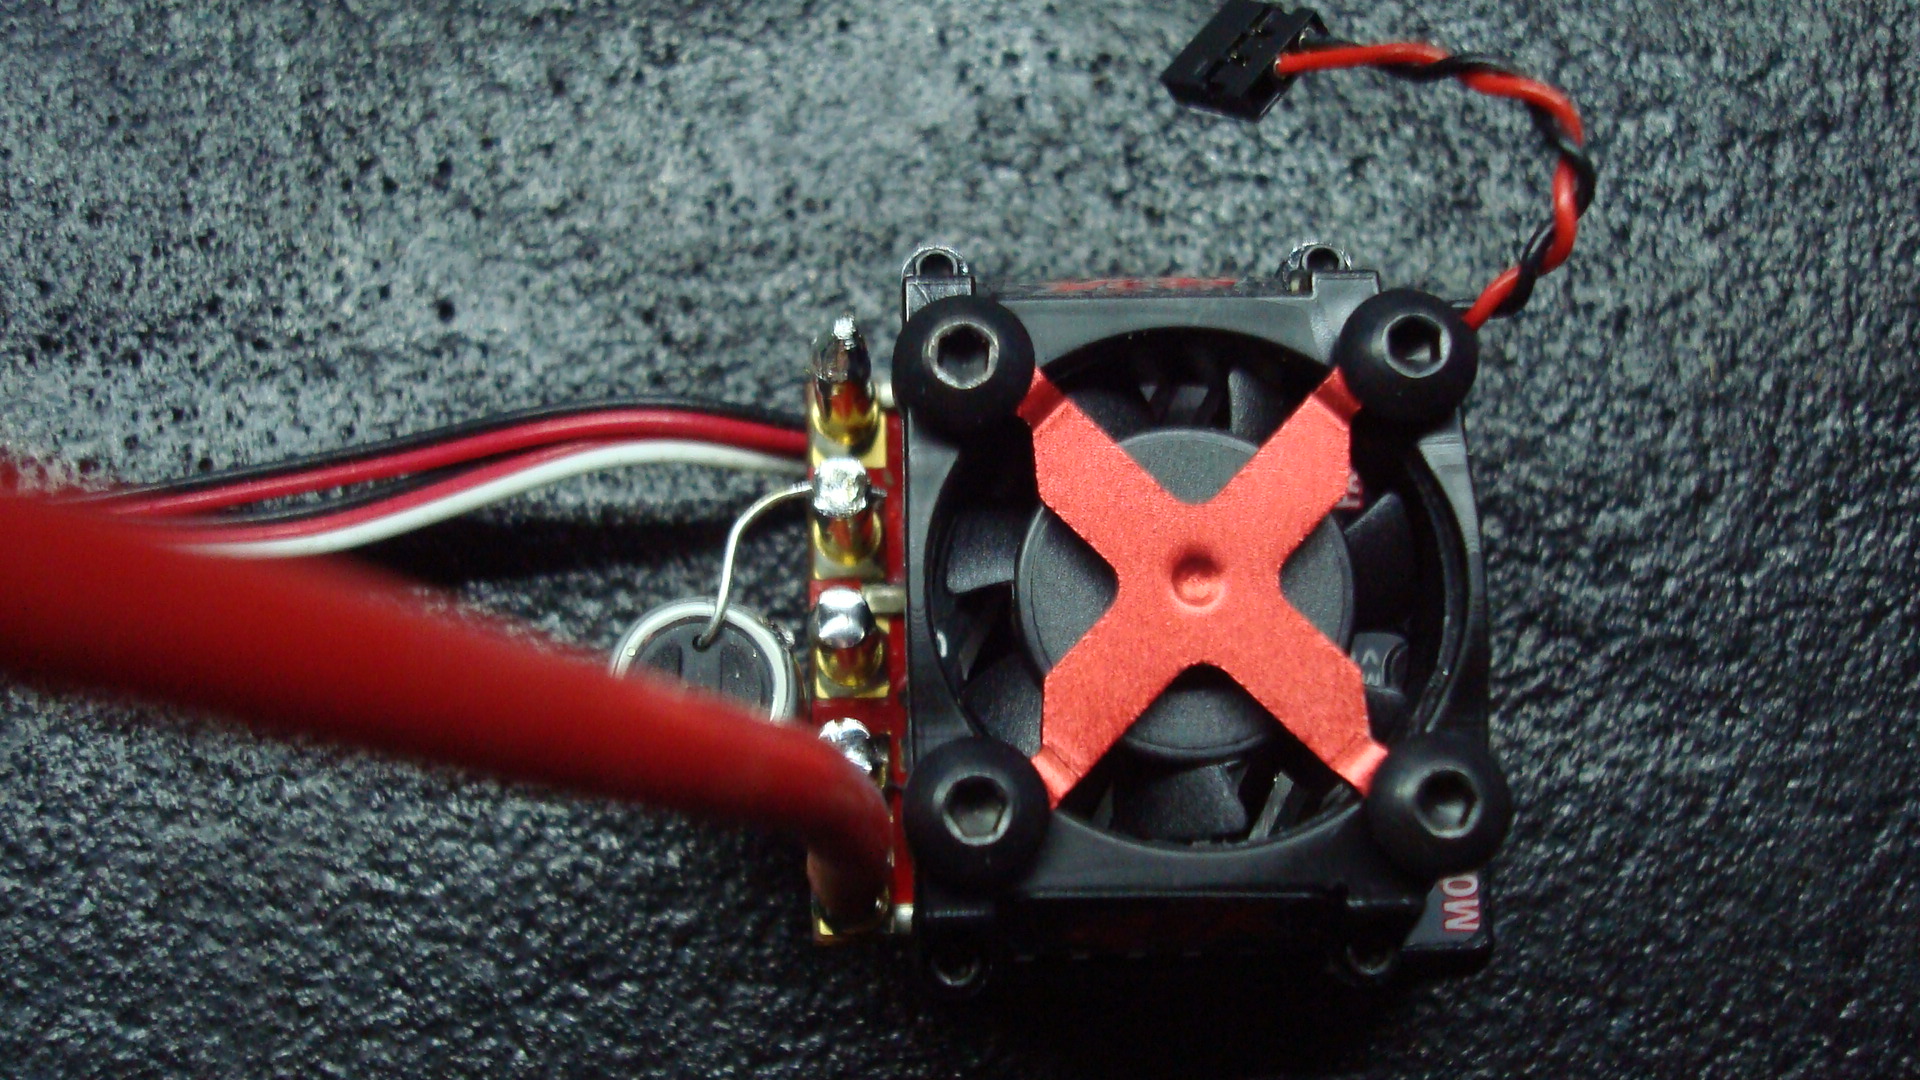
X Brace correctly installed, dimple down.
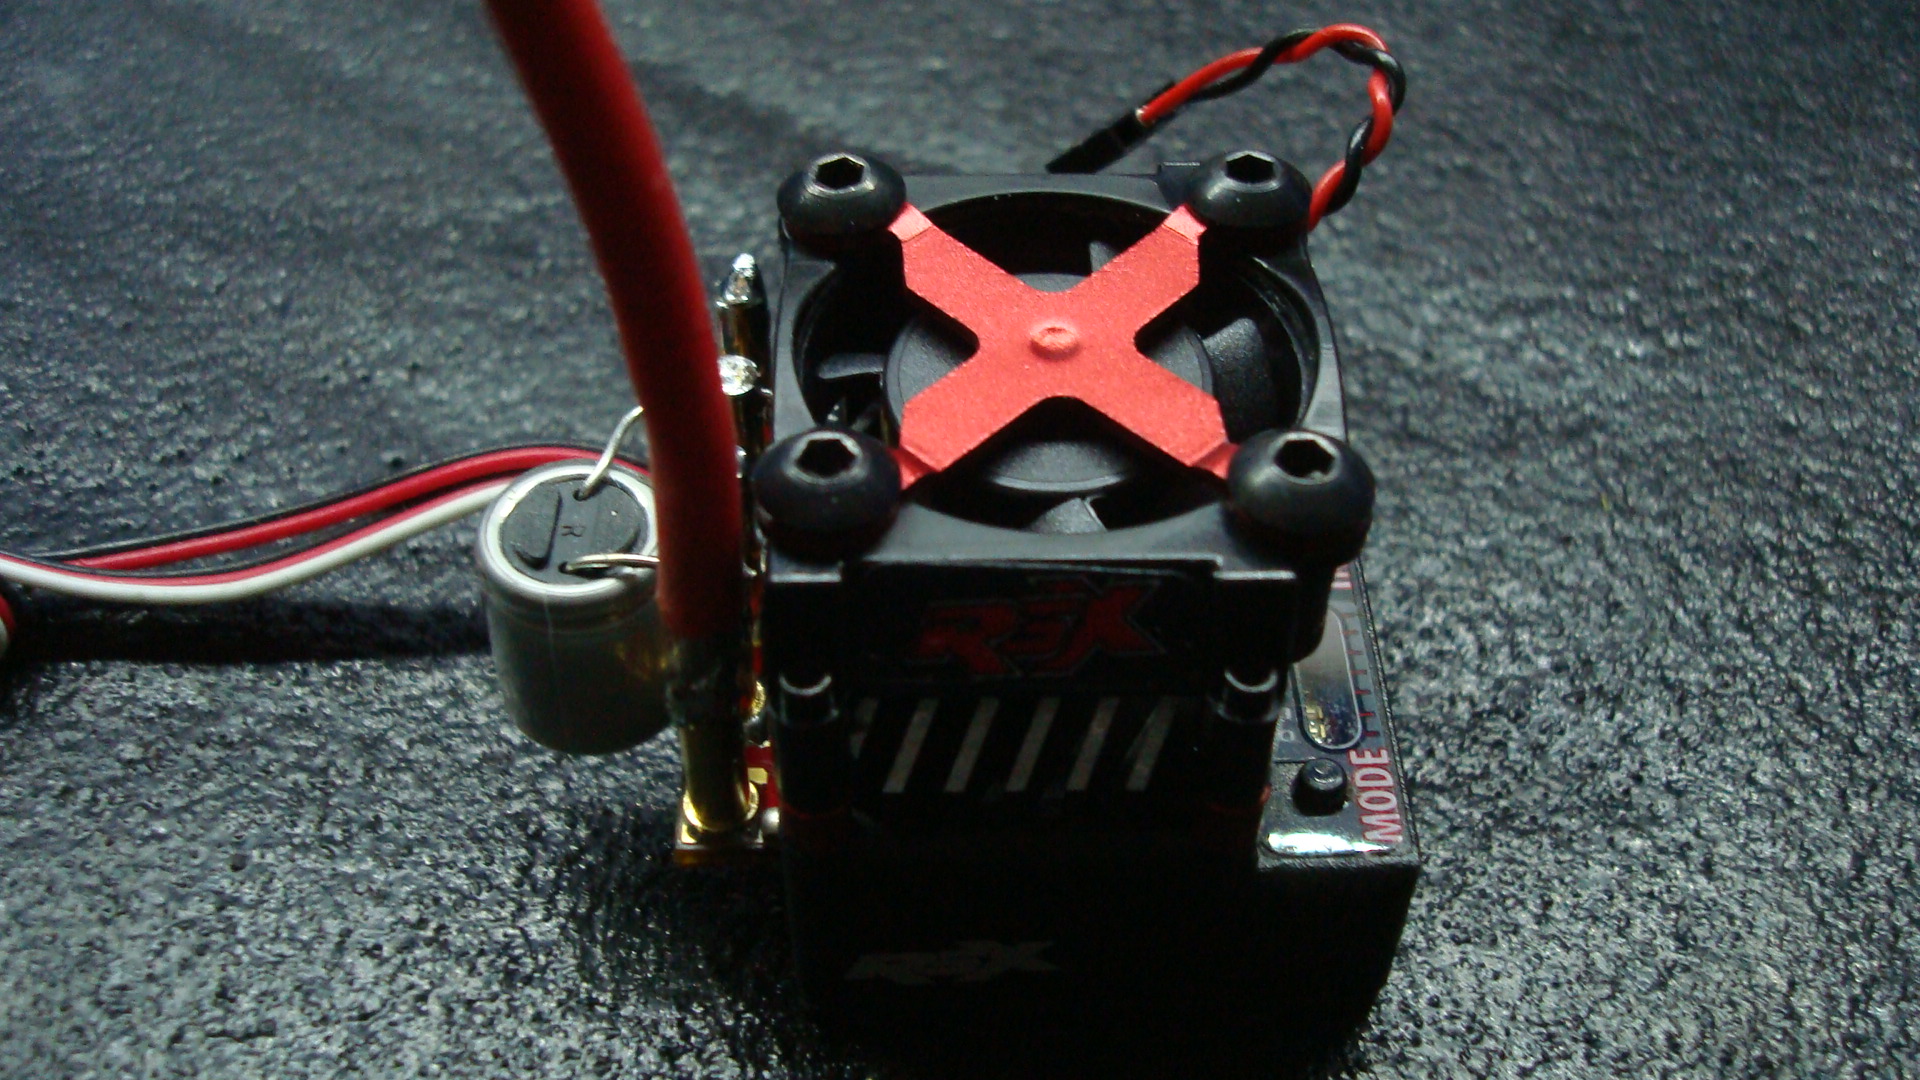
There are of course many ways to “clock” or install the fan into the shroud. My chosen way is to route the lead wire underneath the shroud and exit the front with just enough to unplug it easily to access the Ez-port.
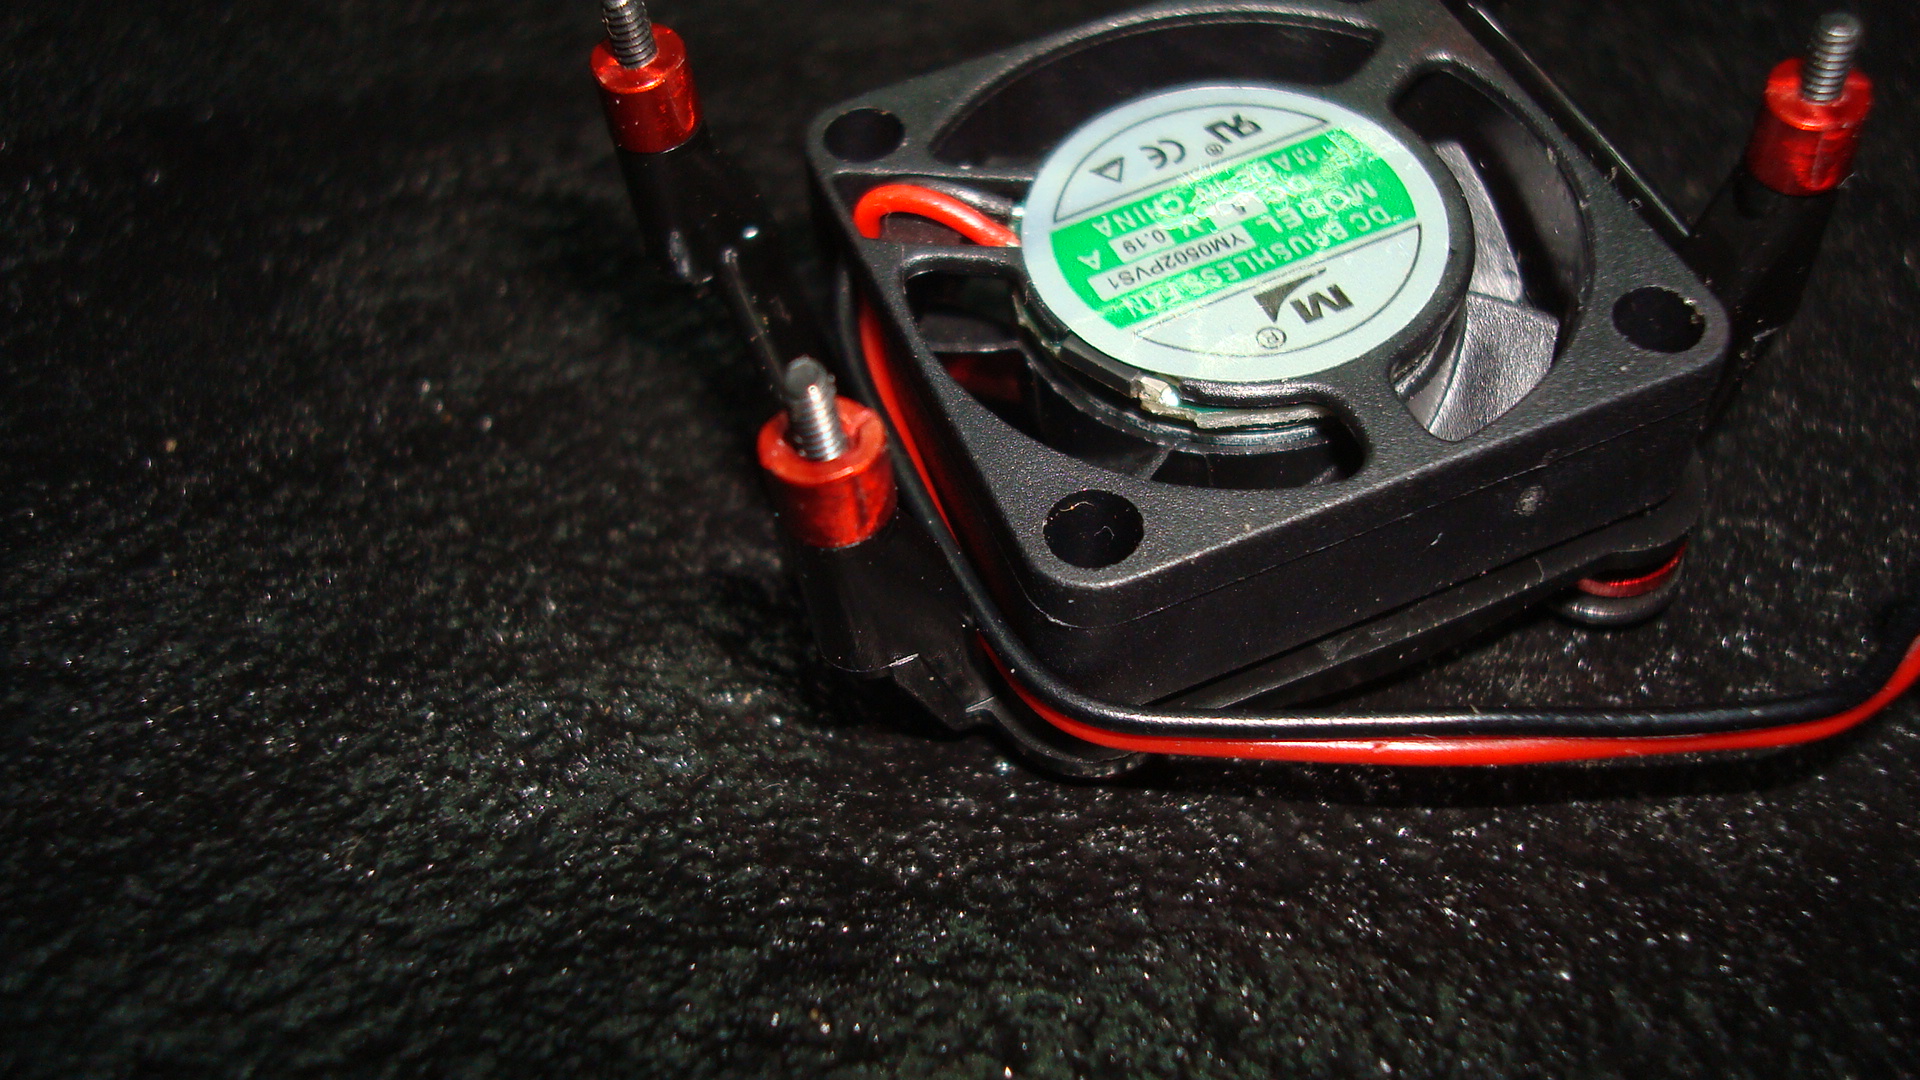
Note: fan label is ALWAYS down.
Fan is “pretty” without the label showing!
Now you can install the fan and shroud assembly by tightening up the 4 shroud screws, taking turns to do each a bit to prevent shroud warpage or binding.
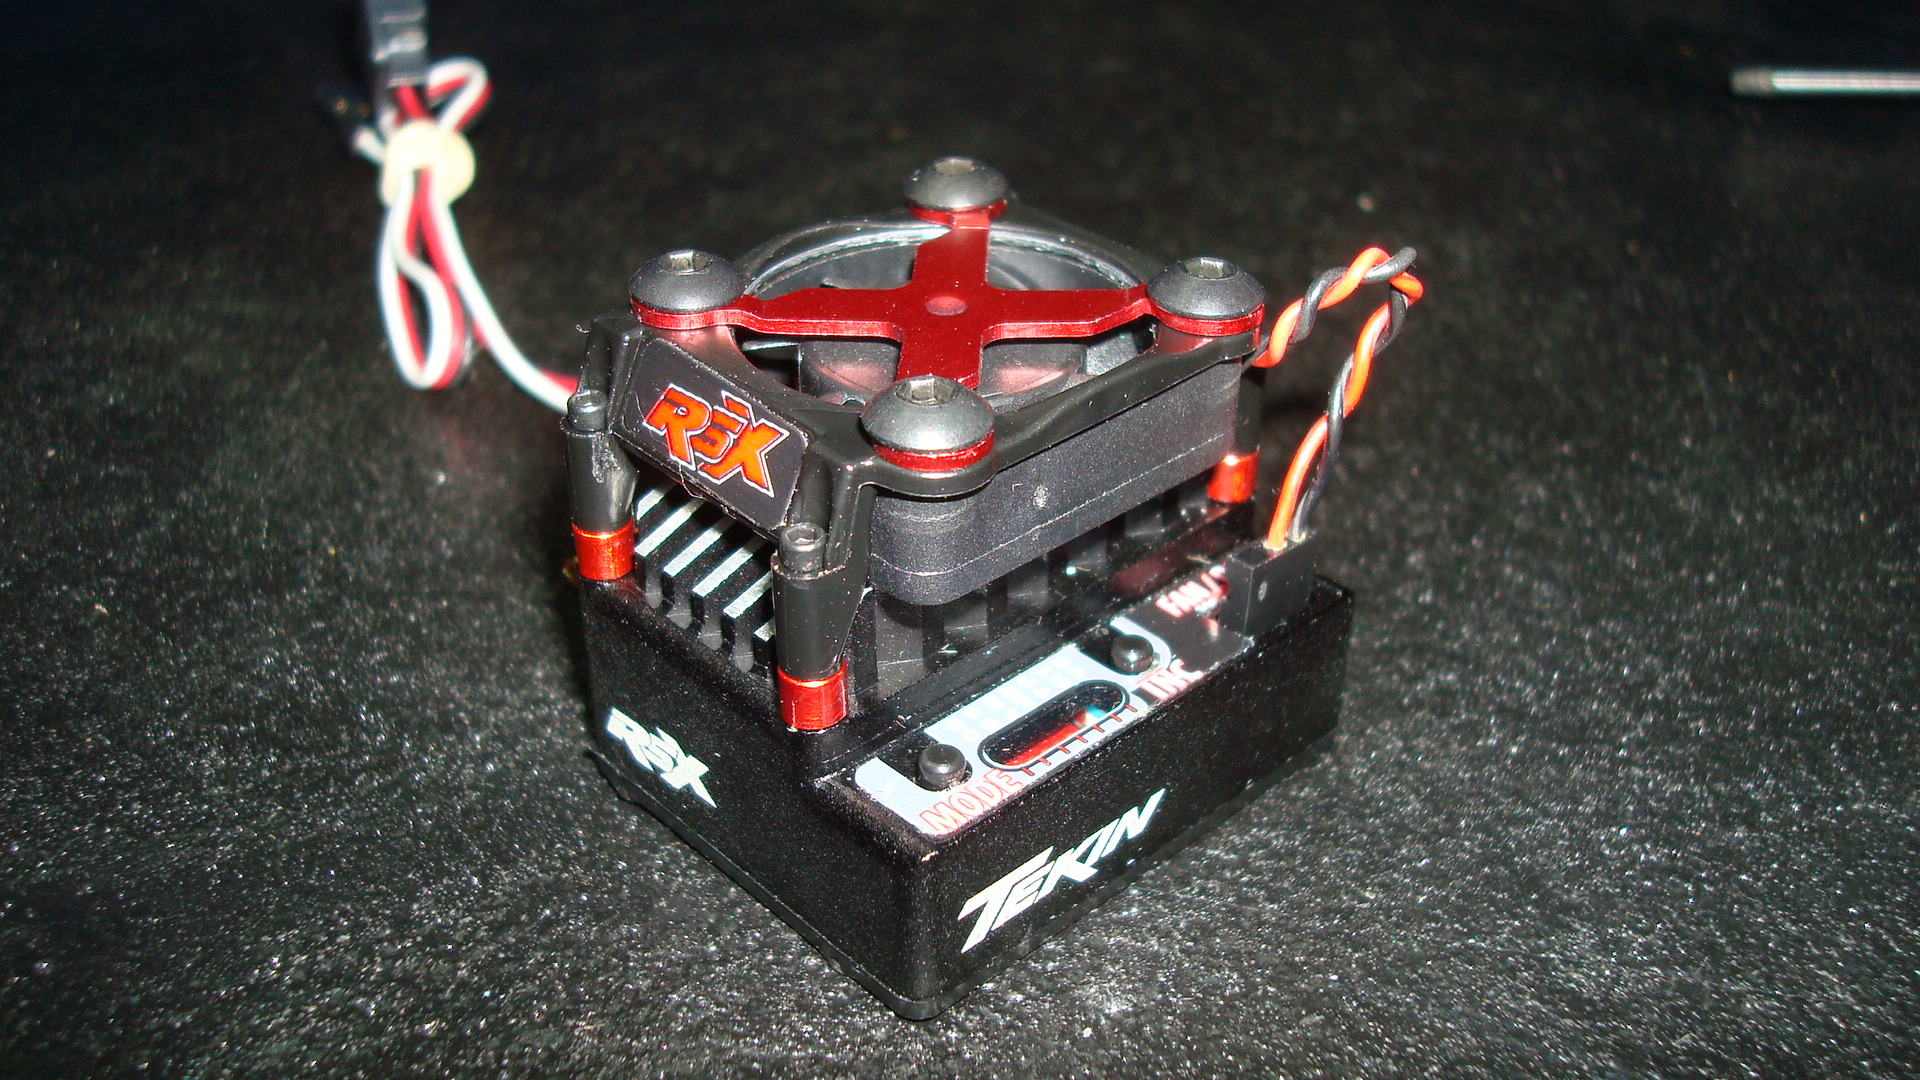
Note: I like to twist up the fan lead to make it cleaner and a bit stronger to grab while unplugging the fan for Ez port access.
You can also see that the shroud lines up perfectly with the back of the heatsink giving you plenty of room for wires.
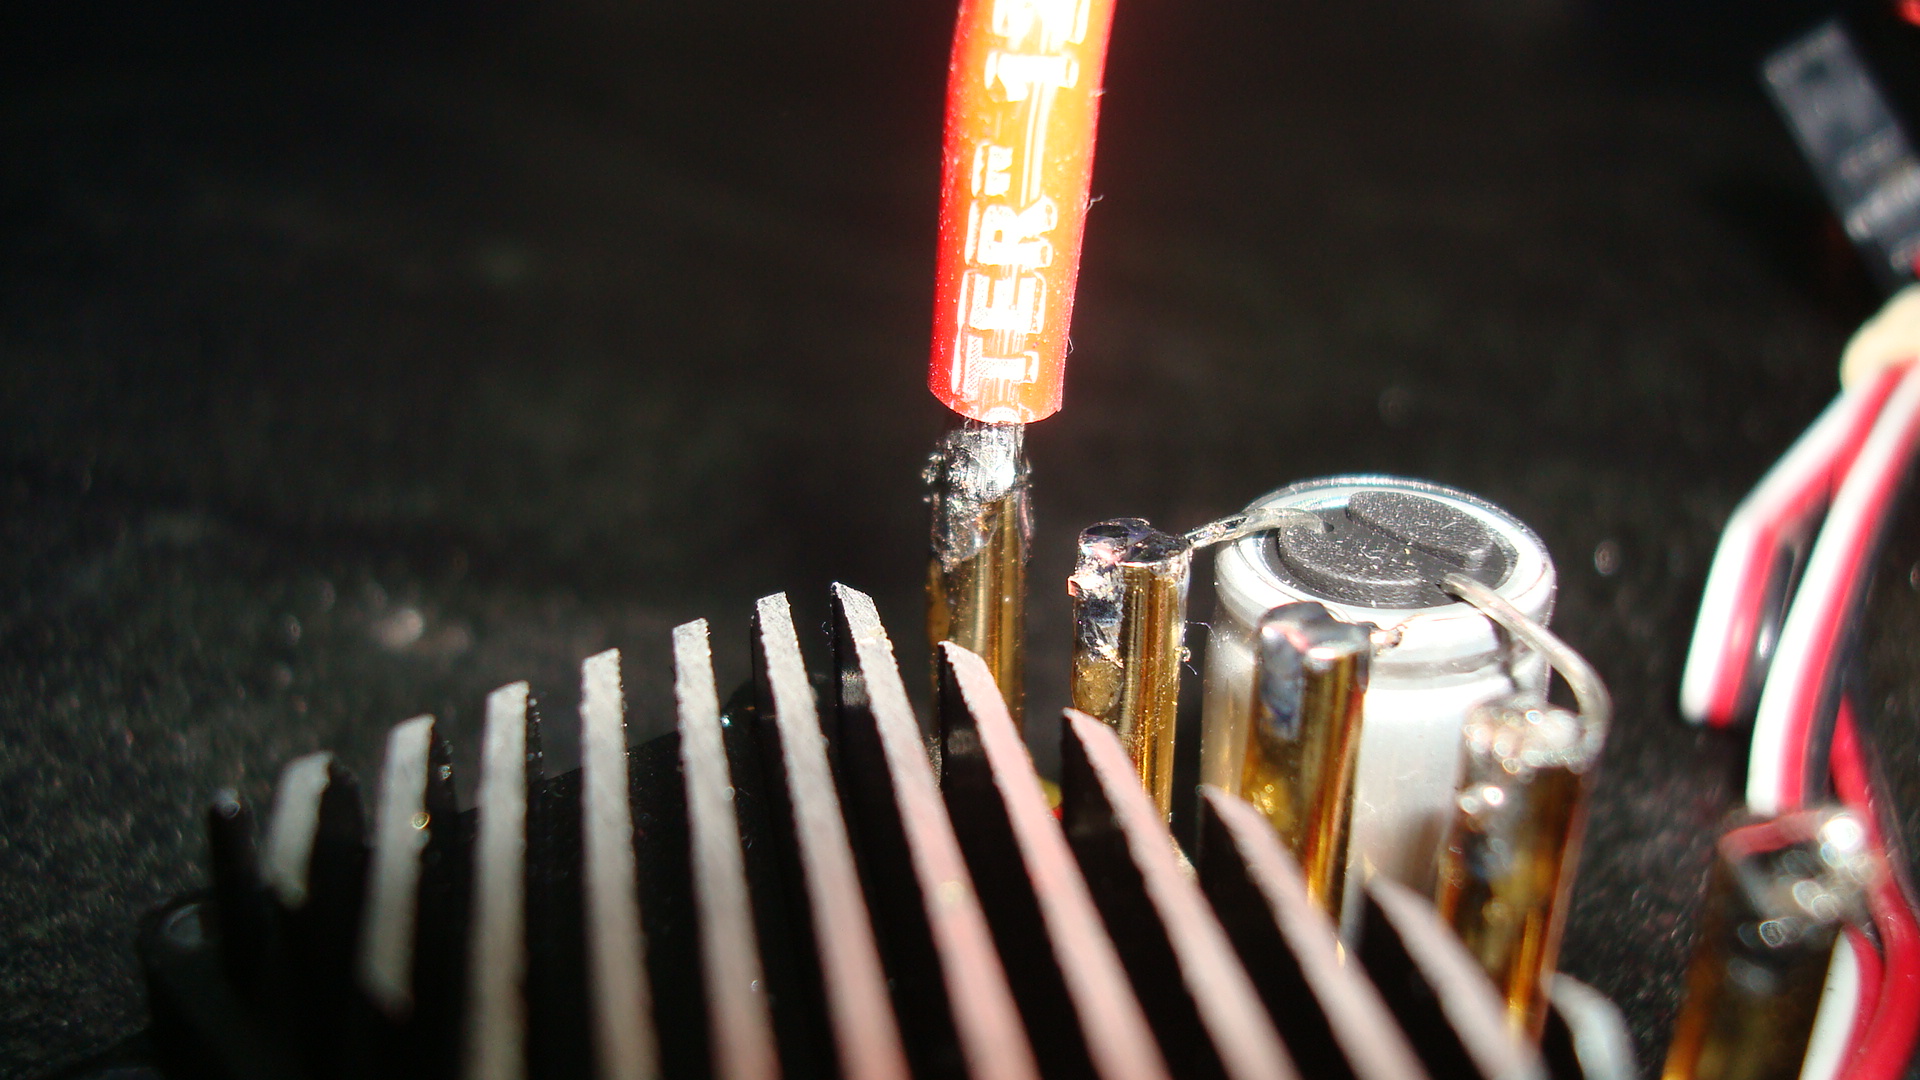
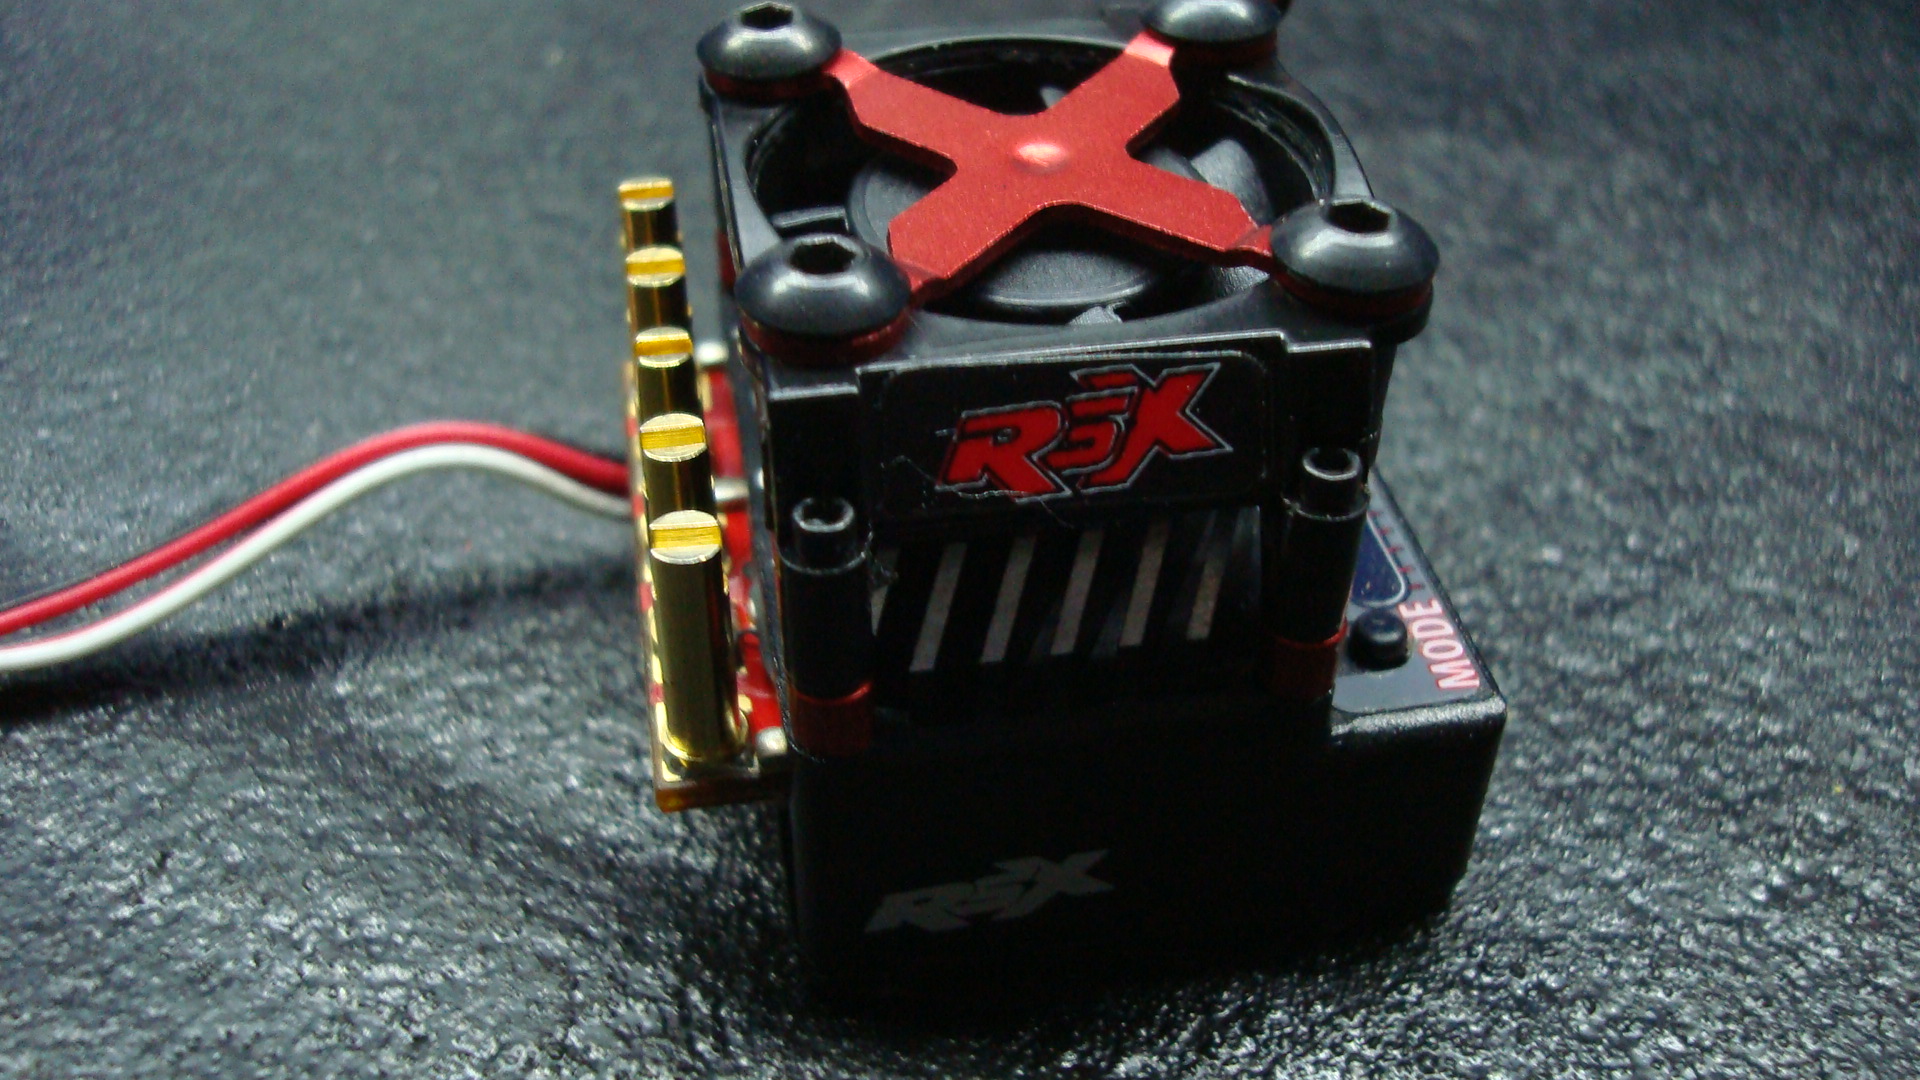 Next up is installing the required included cap. There are lots of ways to do this but I’ll show you the most common I’ve found. This is esc is going into an Xray 4wd buggy so the cap will just hang off the back. In some cases you can use some leads are remote mount it. Note however that ideally the leads should be as short as possible.
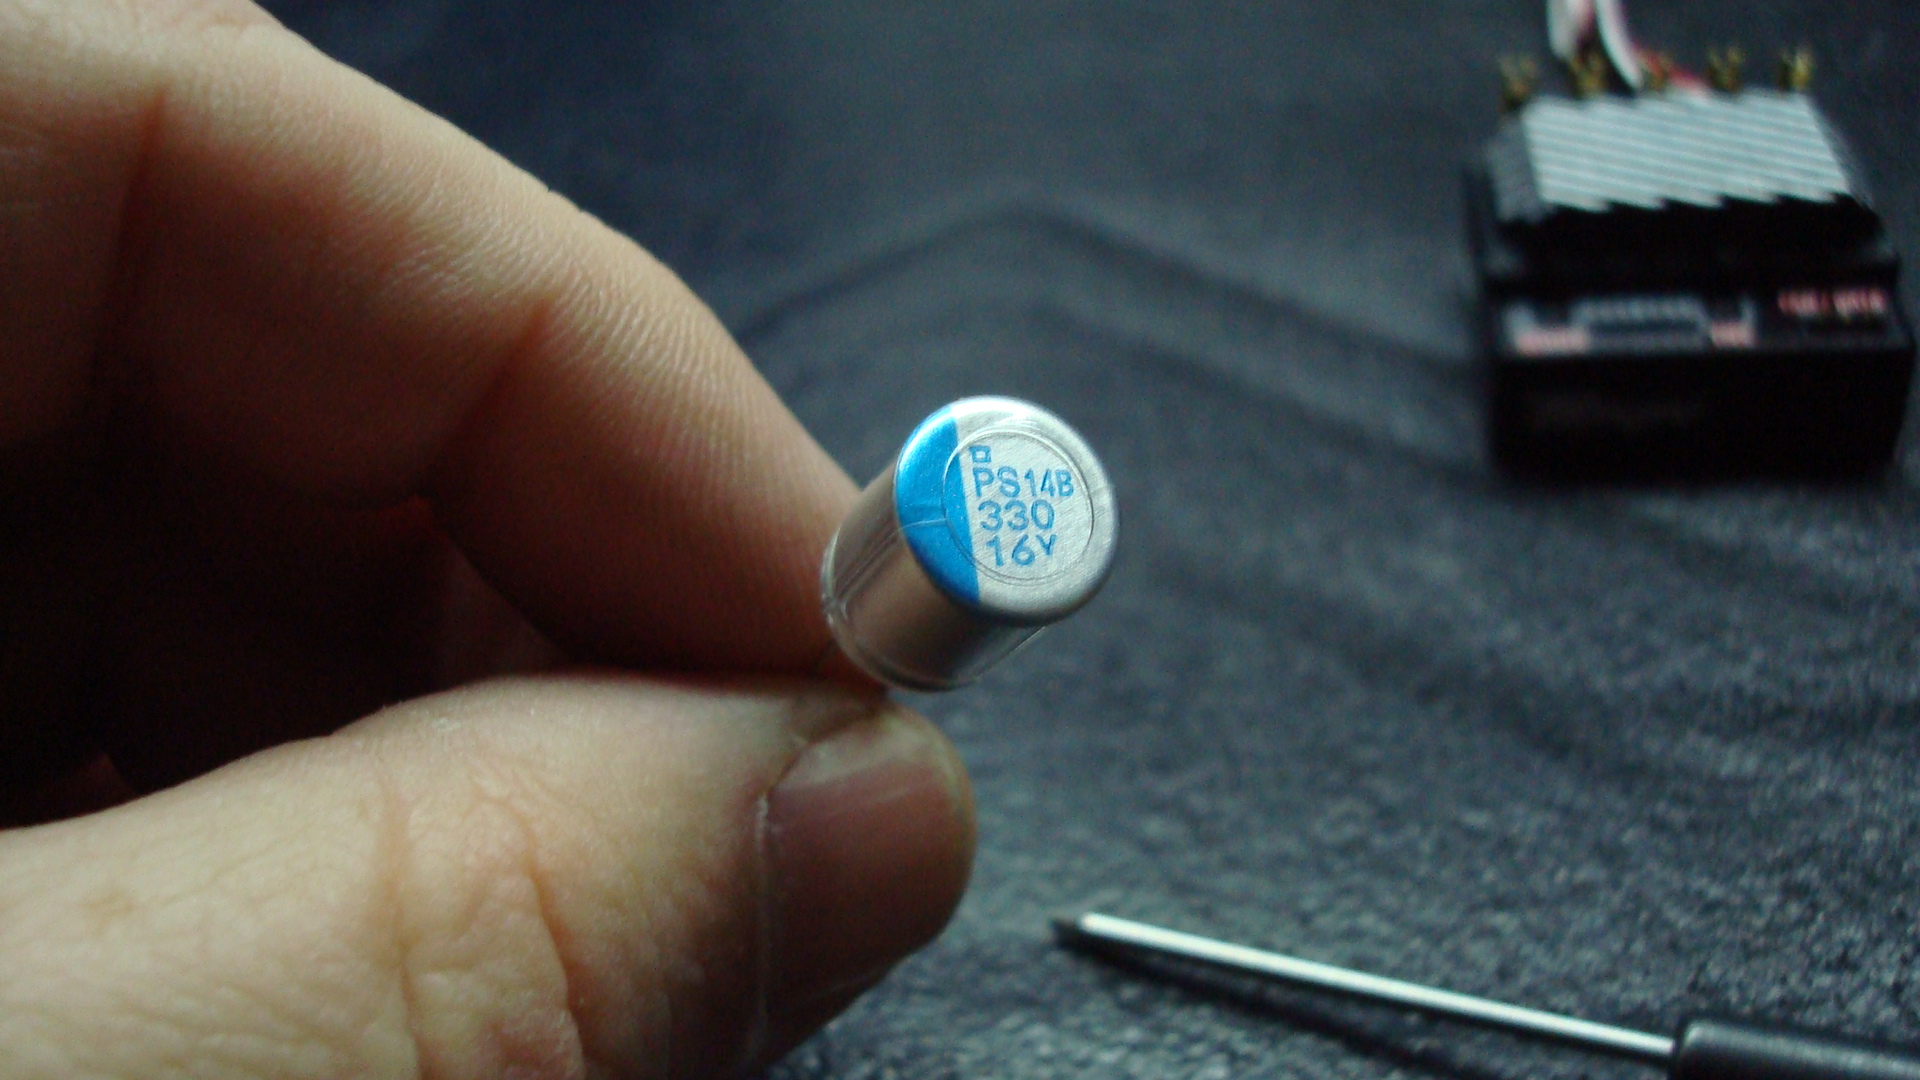
The blue marker indicates the negative leg of the cap.
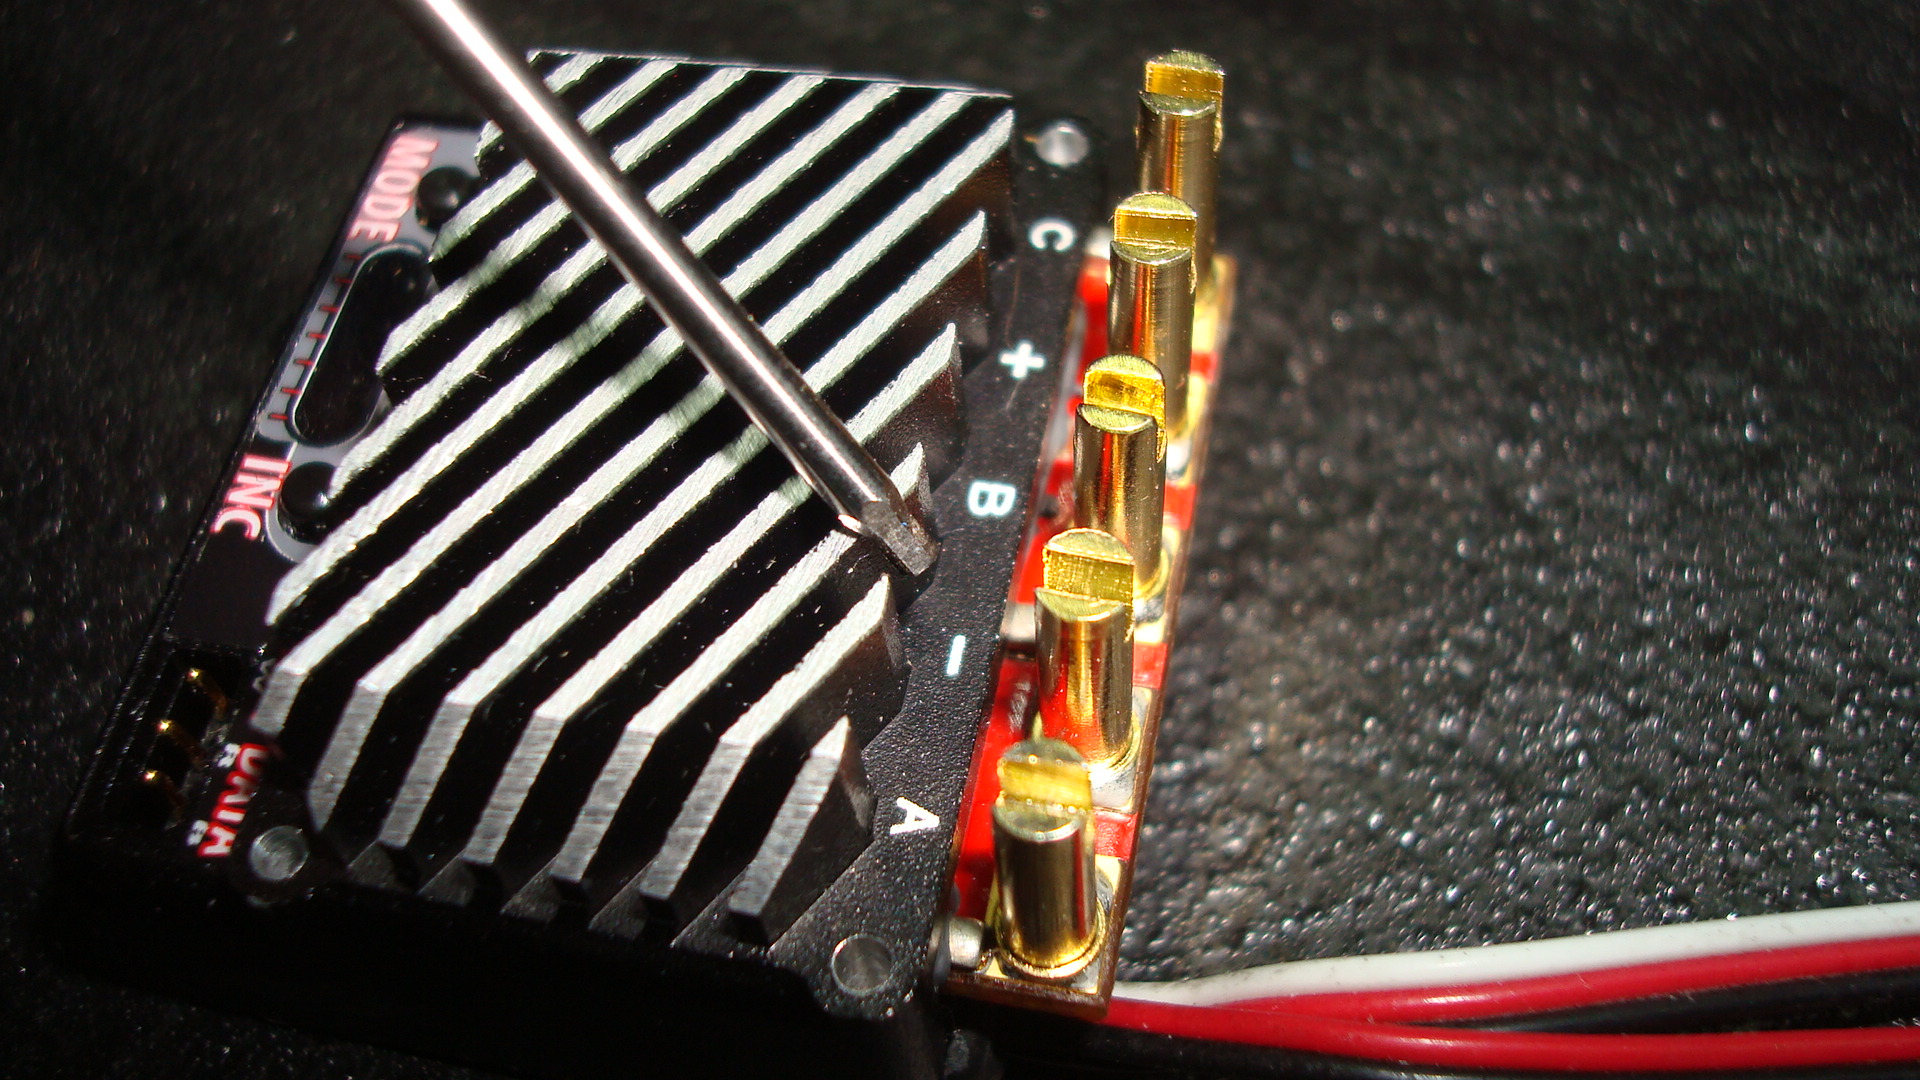
See the “-” symbol here on the esc housing.
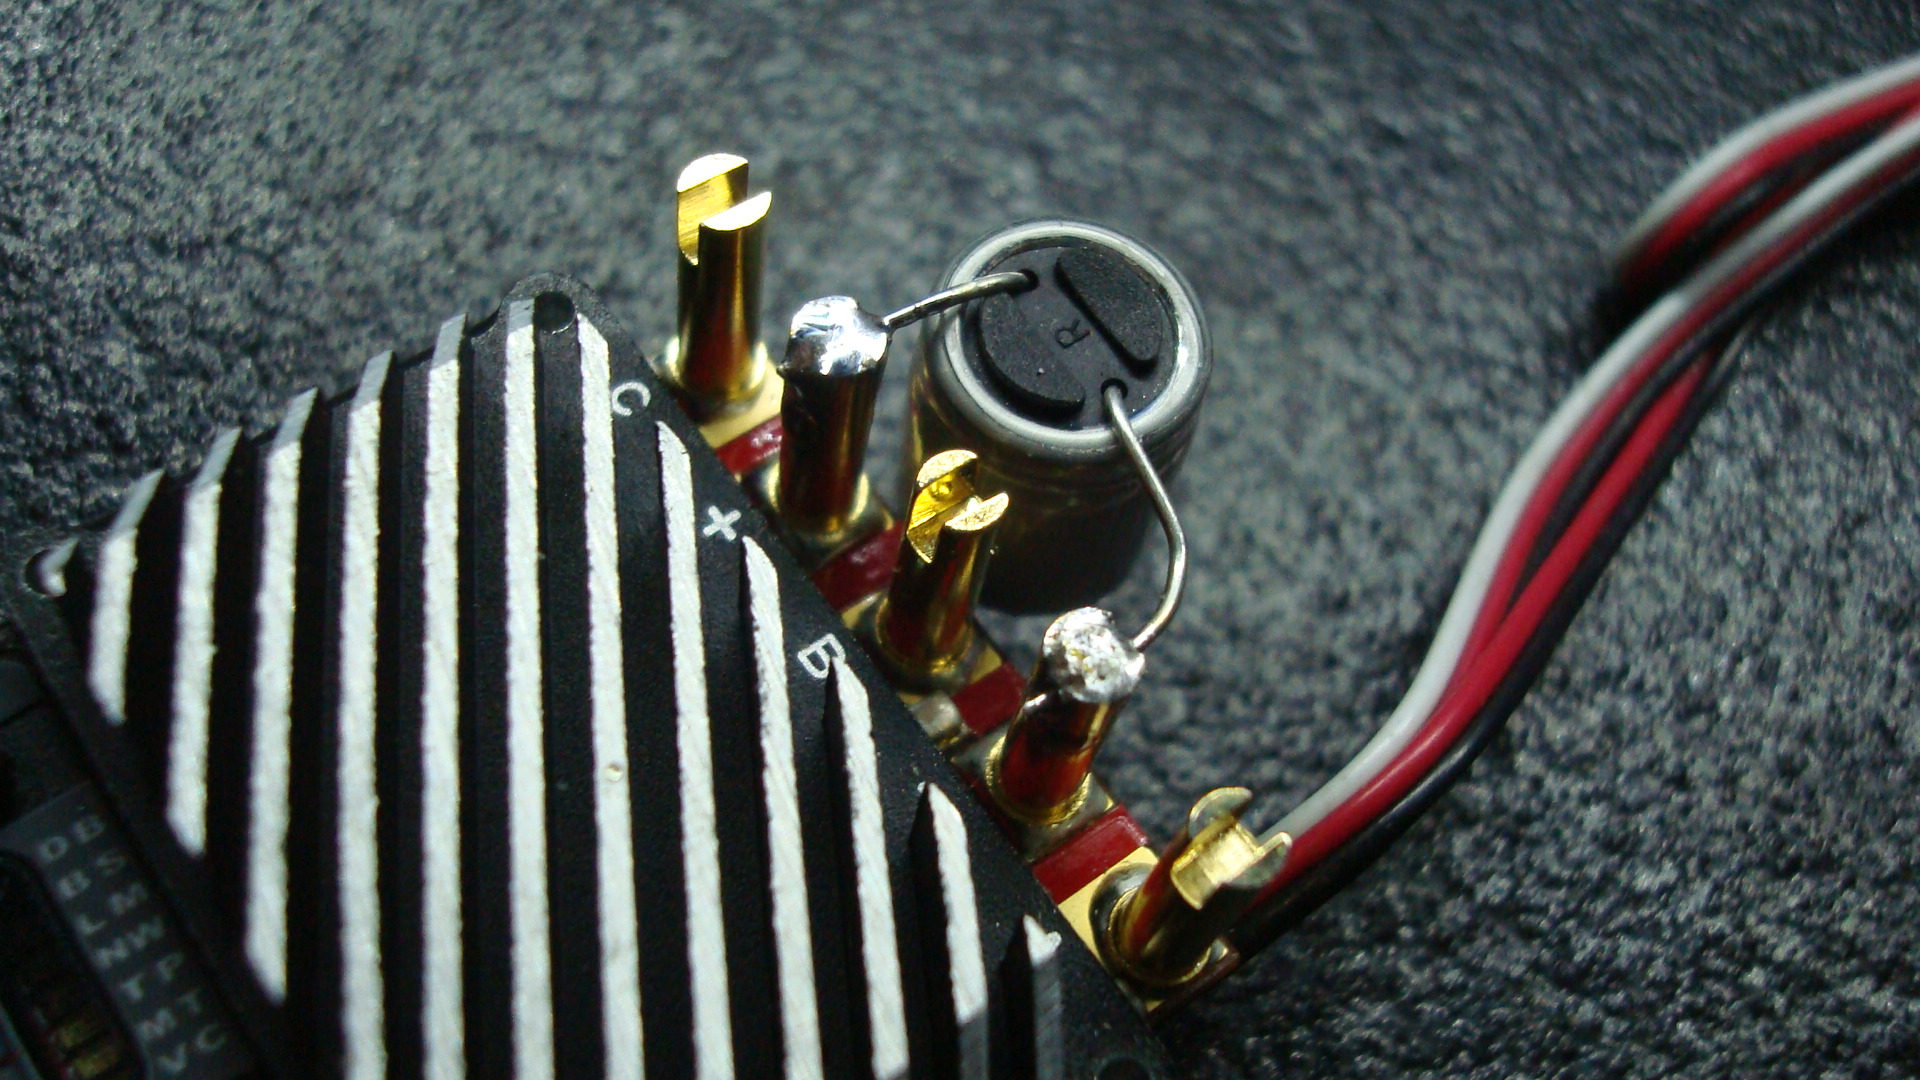
Cap mounted giving room to the “B” post.
So there’s generally two ways to solder up the leads to the esc. Horizontally or vertically. Each model and install can use both. Take your time and mock up the install for the cleanest look. I highly recommend genuine Tekin Flex Jacket wire.
Horizontally.
You can go straight back(shown) or at angles to suit your models requirements.
Vertical.
Again you can angle these to clear bodies, top decks, etc.
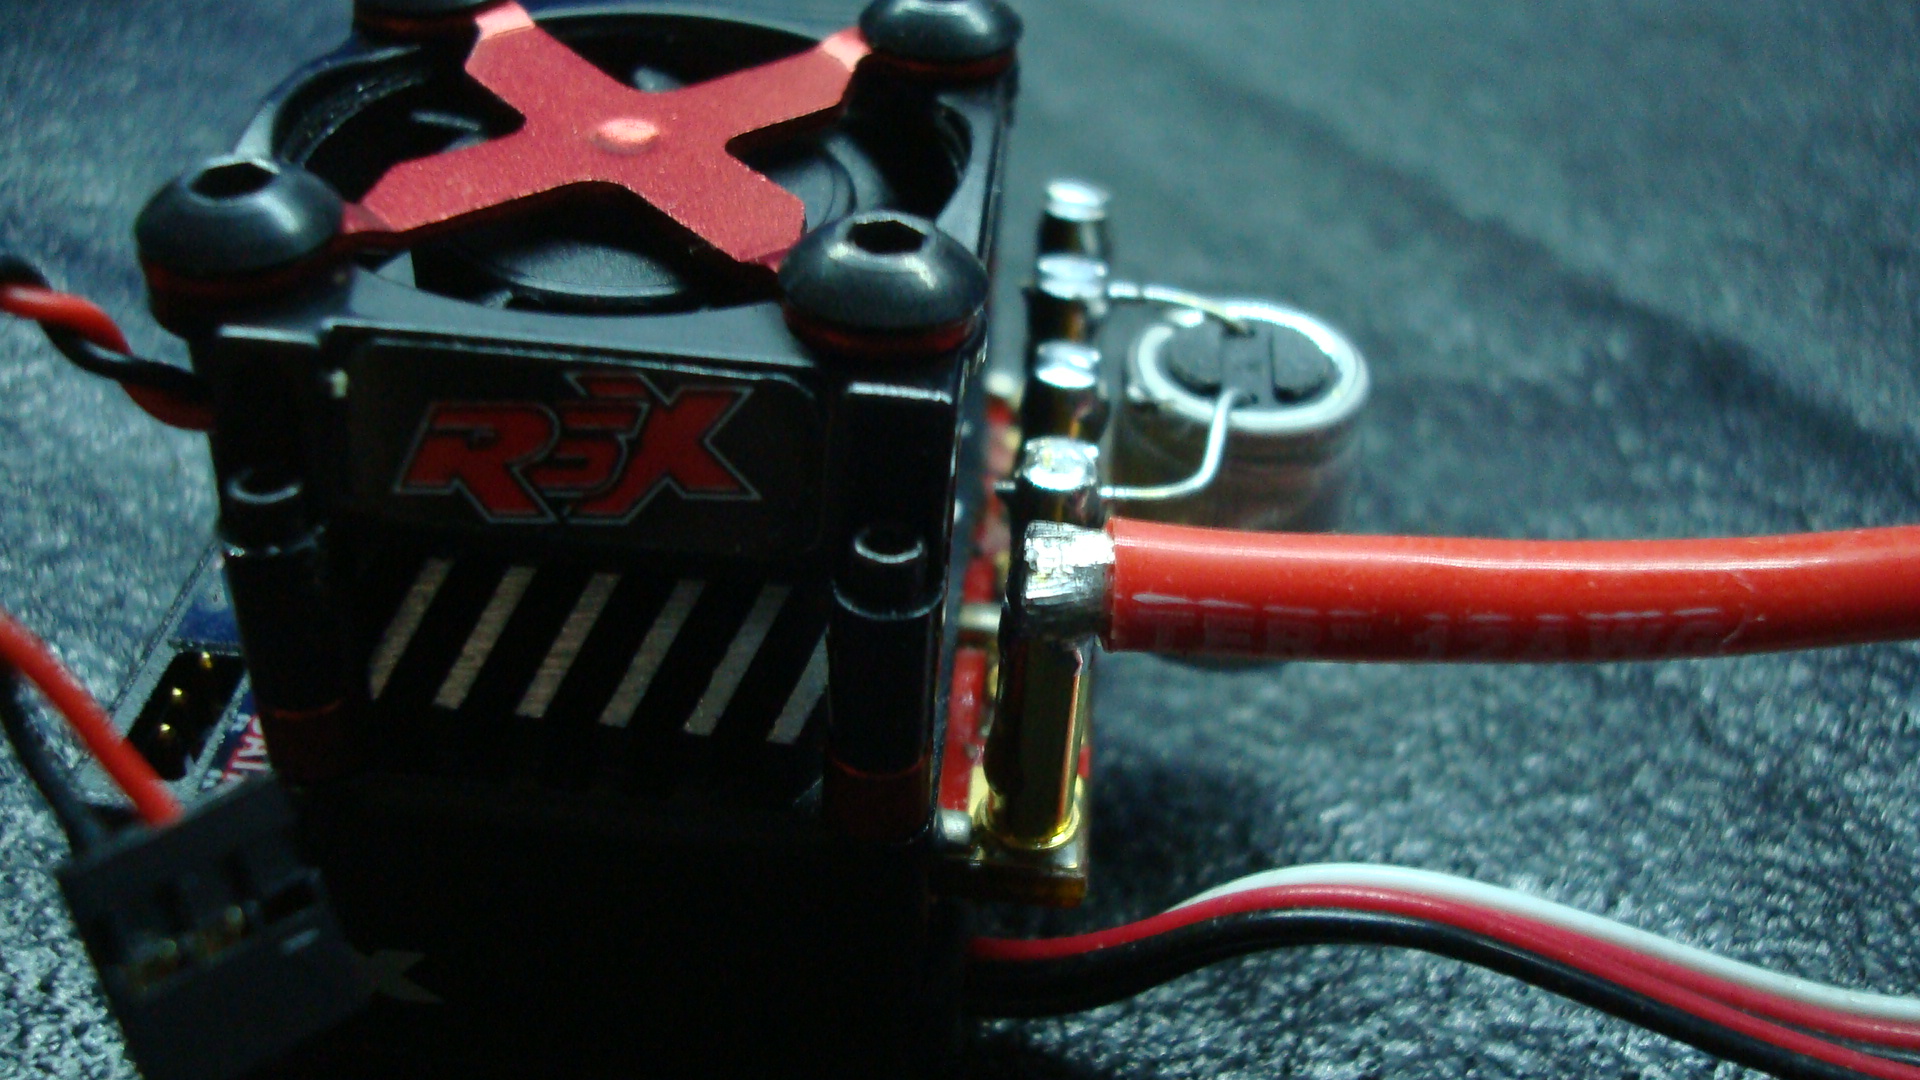
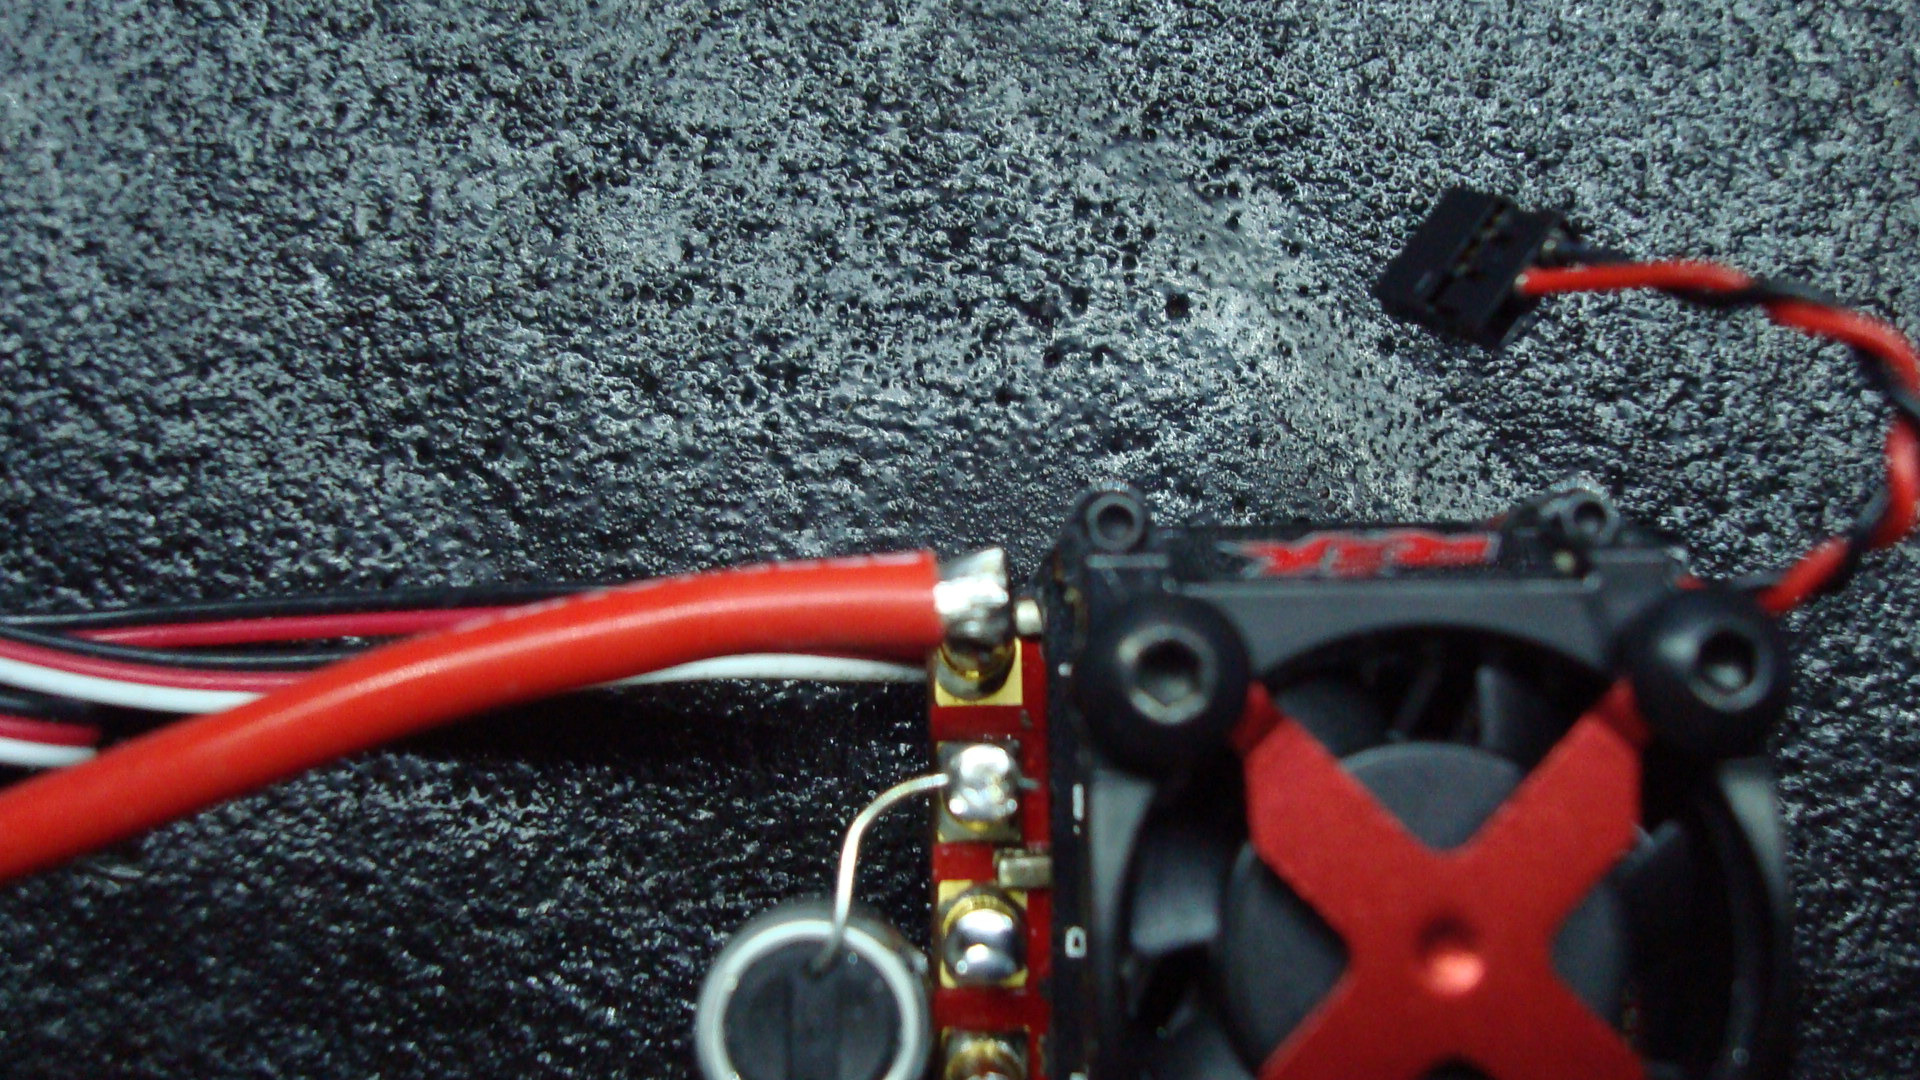
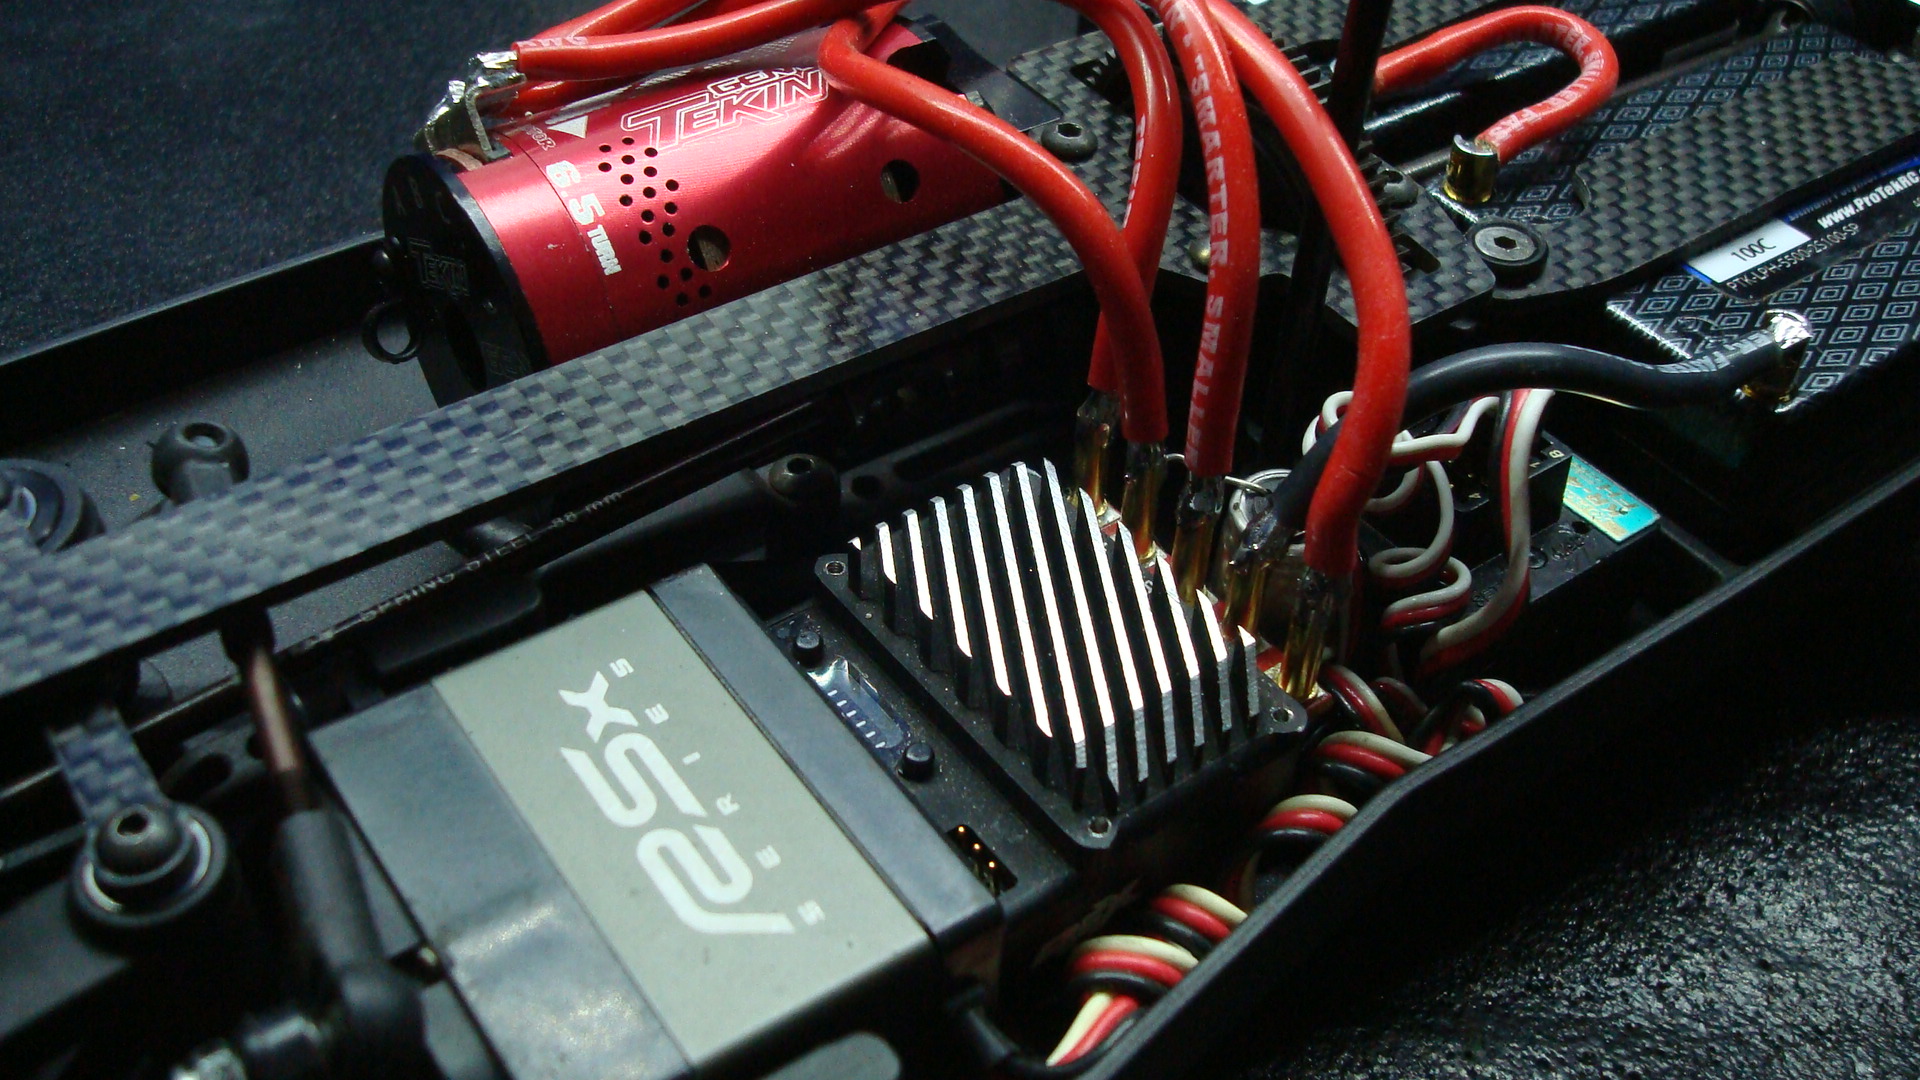
So on this Xray buggy You can see I chose to route the wires vertically which clears the body and allows the esc to get good airflow and if need be I can drop the fan/shroud right onto the esc later if I need it. This positioning also gives me great access to the LED tree and Ez-port.
Thanks for checking out this Tekin “How To” install and RSX!
Randy Pike