


Brushed Motor Maintenance
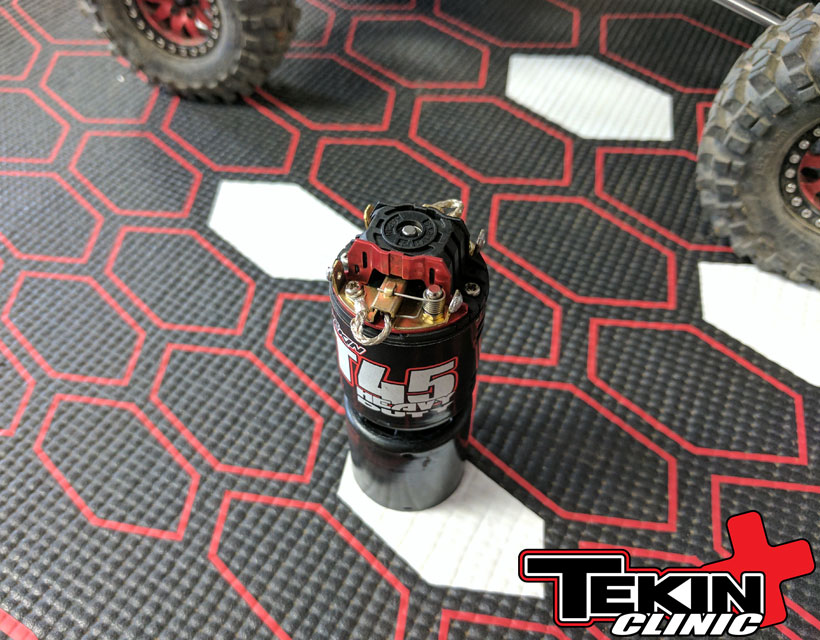
We all love to play in the water, snow and mud with our crawlers and scale rigs. Although these motors are built to withstand the elements, moisture left inside the cans will cause components to rust, prematurely wear and potentially fail. Let’s take a look at the Tekin HD brushed motor that has been pushing one of our Axial SCX10 scalers around for a few years and go through the necessary maintenance steps to keep it running at maximum potential.
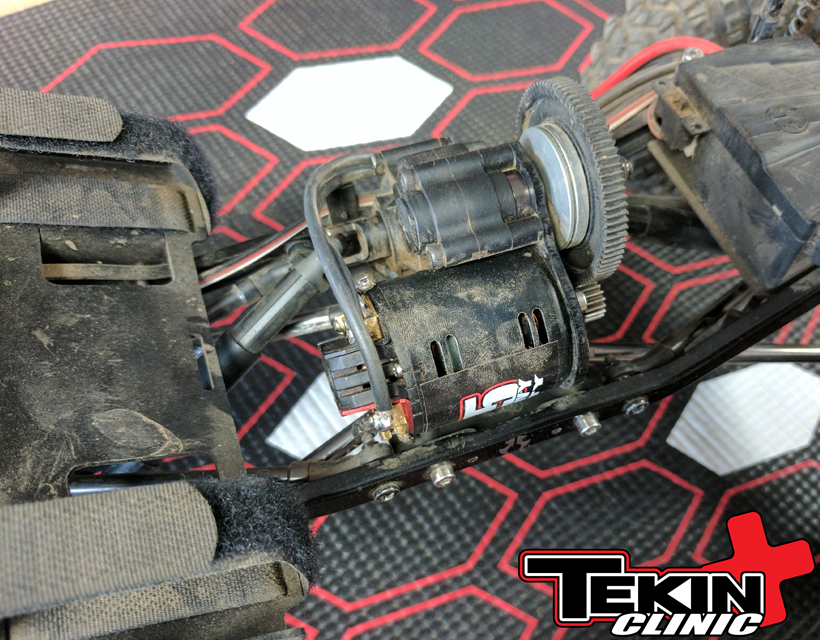
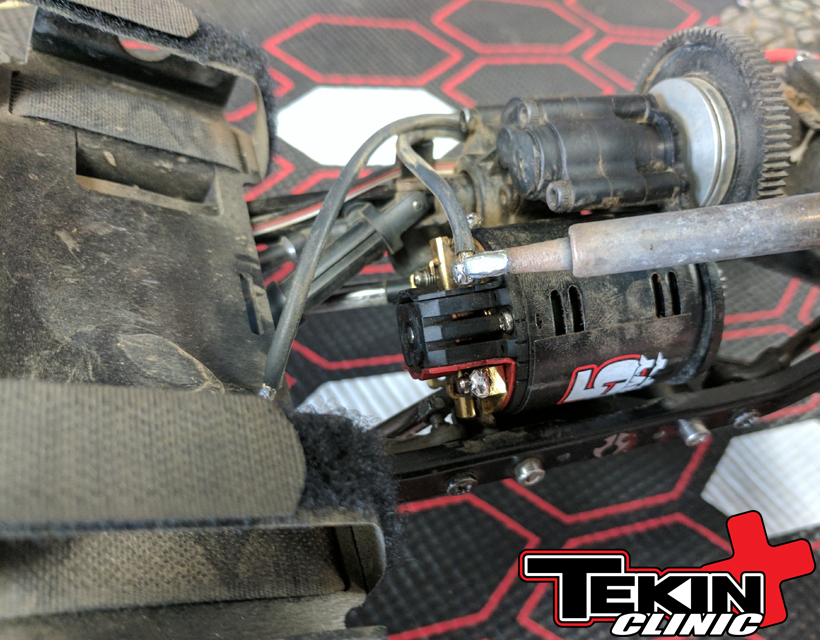
First let’s heat up the soldering iron and remove the motor wires. If you have connectors, unplug them and remove your motor screws and pinion.
With the motor out of the truck we can begin disassembly. First step is to mark the endbell and motor can so you know where to reset the timing later.
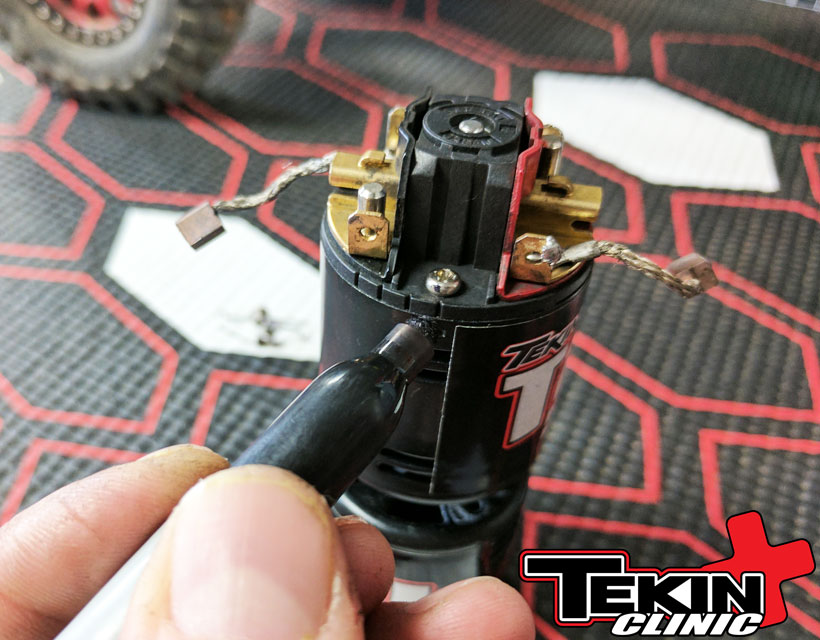
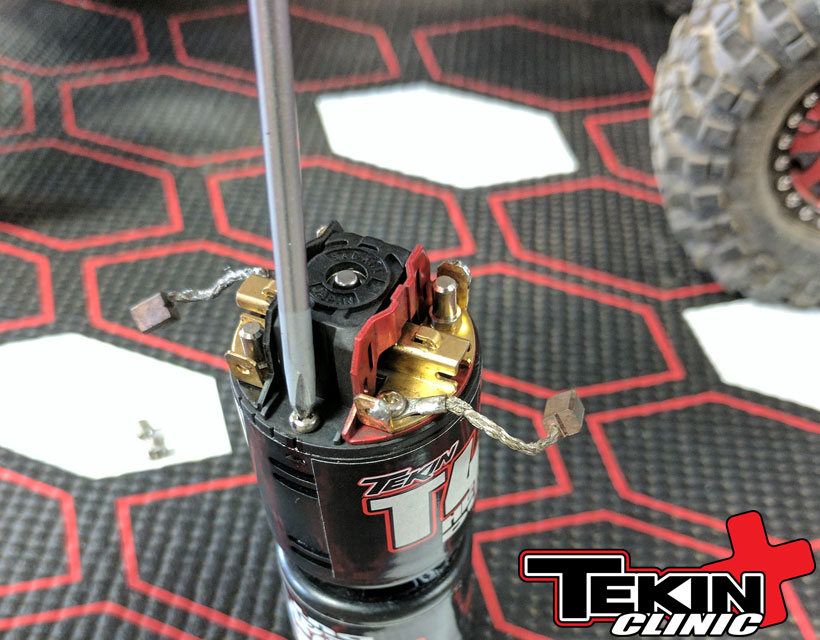
Now we can remove the brush springs. Be careful, these little dudes love to fly across the room and disappear.
Remove the two Phillips screws holding the endbell on and pull the brushes from the brush hood.
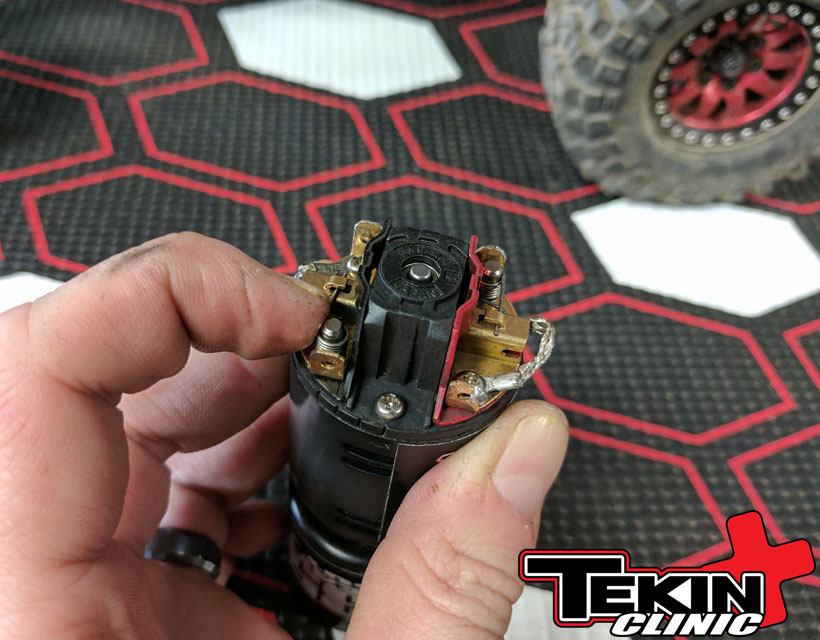
Remove the endbell carefully and check that there is a shim on the armature. You should see it on top of the phenolic spacer as shown here.
![]()
Pull the armature from the motor can and be sure to keep track of the two shims located on the pinion shaft end. Sometimes they get stuck to the bearing a magnet inside the motor can.
![]()
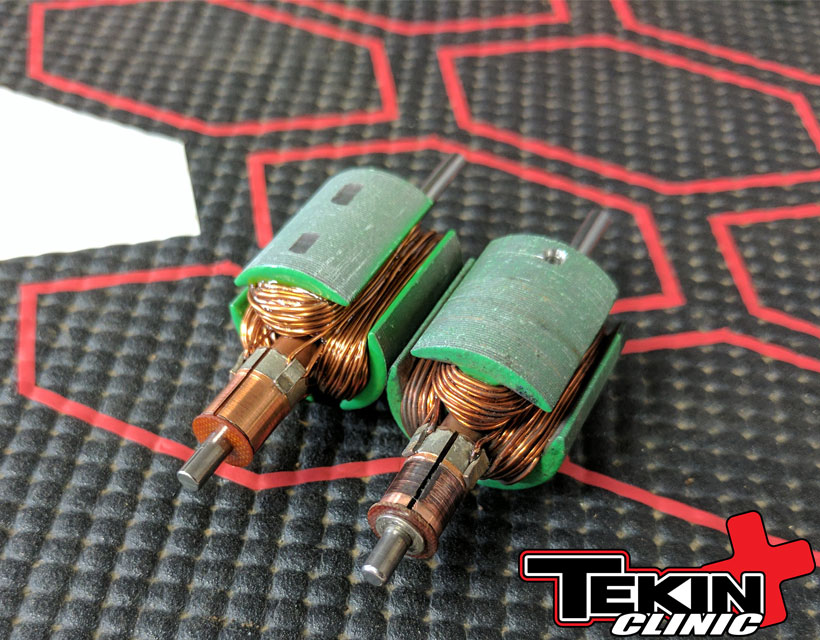
Here we compare a new armature (left) to the used armature (right). You can see that the surfaces on the commutator are worn from brush contact and use. This is ok as long as there are no burnt spots or gouges in the surface. Our comm could use a quick run across a lathe for a fresh surface, but for now we will clean it up with an eraser and install new brushes.
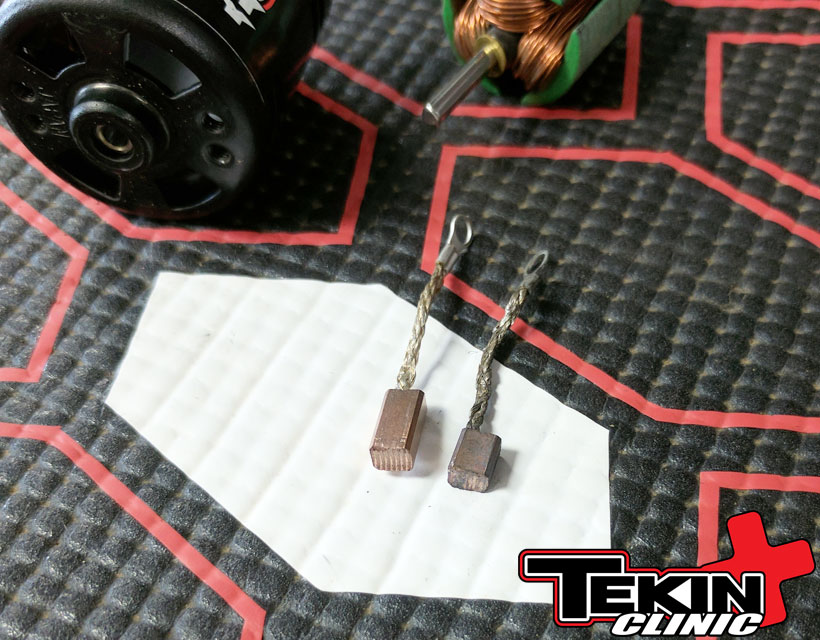
The brushes transfer the power to the armature and make the motor spin. They are a wear item and you can expect to replace them regularly if you put a lot of miles on your rig. You’ll wear through them even faster if you play in the water, so be sure to have rebuild kit handy! (TT3804 HD Kit / TT3805 PRO Kit) These are extremely worn, on the verge of halting an offroad adventure, so we are going to replace them with a new set.
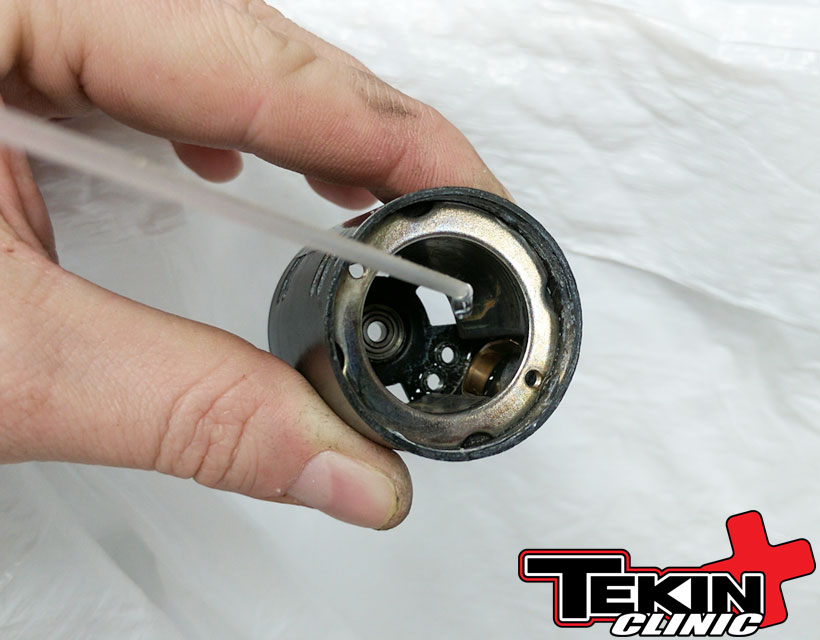
Before we reassmble the motor, it’s a good idea to clean it out with motor spray. This isn’t necessary, compressed air or a toothbrush can usually get most of it, but since we’re here we will give it a nice bath.
Now that the motor can is cleaned out, we can drop the armature back in (pay attention to your shims!) and put the endbell back on, lining up the marks we made earlier. This sets the timing and is important, any timing advance will increase motor RPM and potentially cause more generated heat and retarding the timing can cause the motor to run slow, excessively hot and burn down. Depending on which direction your rig needs the motor to rotate, you may want to add a little timing but it’s best to set it to 0* when reassembling.
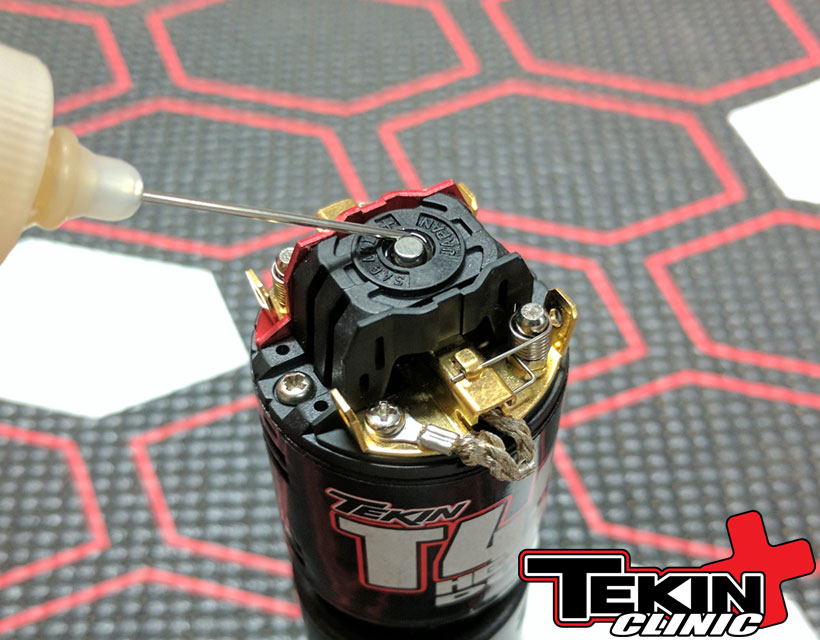
Since we doused the motor in a strong cleaner, you can bet any grease that may have been left in your bearings is likely gone, so a drop or two of bearing oil on each end shouldn’t be overlooked. In fact, we suggest oiling the bearings often under normal use, so get you some for your toolbox!
If you decide to replace the brushes in your motor, it’s a good idea to seat them buy running the motor on a low voltage, 4-5V for a few minutes each direction. This will give you a clean break-in and allow the comm and brush surfaces to achieve the best contact. We do not recommend seating the brushes using the water break-in method. Our brushes are a semi-soft compound and pre-cut to fit the comm. Water break-in increases the wear considerably and is leftover from the days of using extremely hard brushes that were not pre-cut.
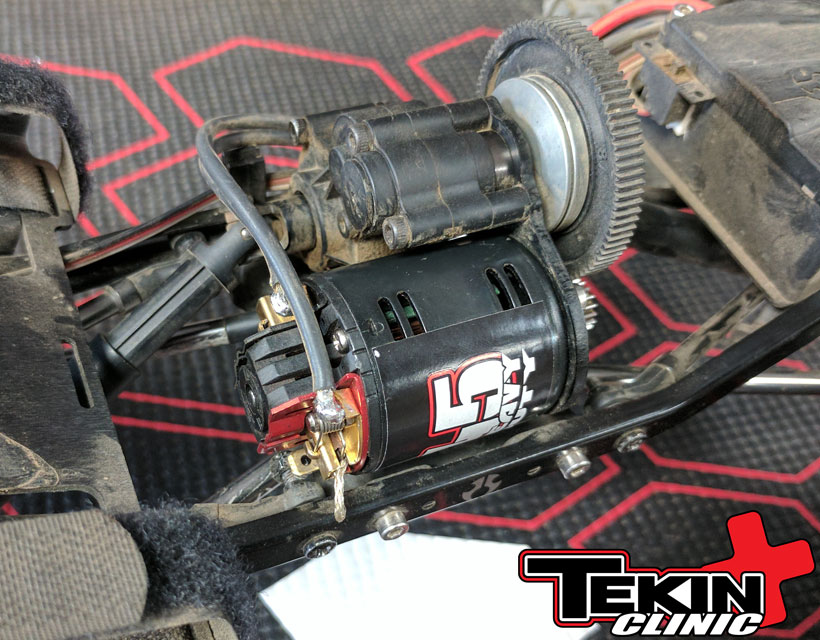
Now all that’s left to do is reinstall the motor and get back out on the trails!
Text by: Jeremy Potter and Ty Campbell
Photos by: Ty Campbell